

Connecting to WelcomeHome
WelcomeHome offers a customized CRM platform designed specifically for senior living operators. This platform helps sales and marketing teams improve conversion rates and community economics. You can connect the WelcomeHome to skyData Studio and perform various tasks such as data ingestion, unification, transformation, and enrichment to gain insights from the data. You can use SkyPoint AI’s built-in connector for importing data from WelcomeHome. This document will guide you through the process of connecting WelcomeHome to the skyData.Prerequisite
You need the following details to configure and import data using the WelcomeHome⇗ connector:- API Token
- Activity Start Date
To import data using the WelcomeHome connector
Follow the below steps to create and configure a new dataflow for the WelcomeHome import connector:- Go to Dataflow > Imports.
- Click New dataflow.
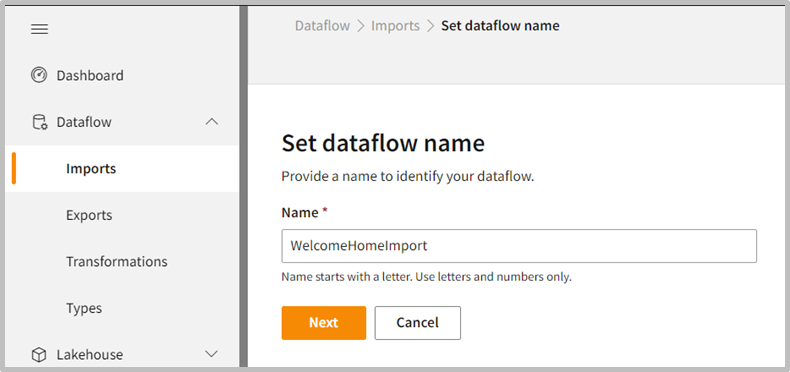
- Enter the dataflow name in the Name text area.
- Click Next.
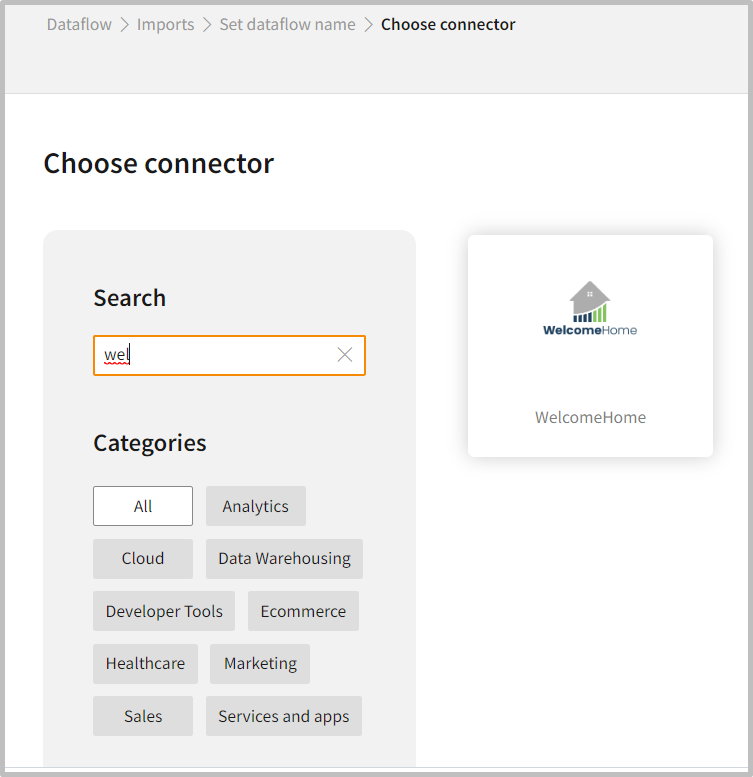
Add WelcomeHome connector
- In the Choose connector page, select WelcomeHome connector. You can use the Search feature to find the connector. Also, the WelcomeHome connector can be found under the Cloud category.
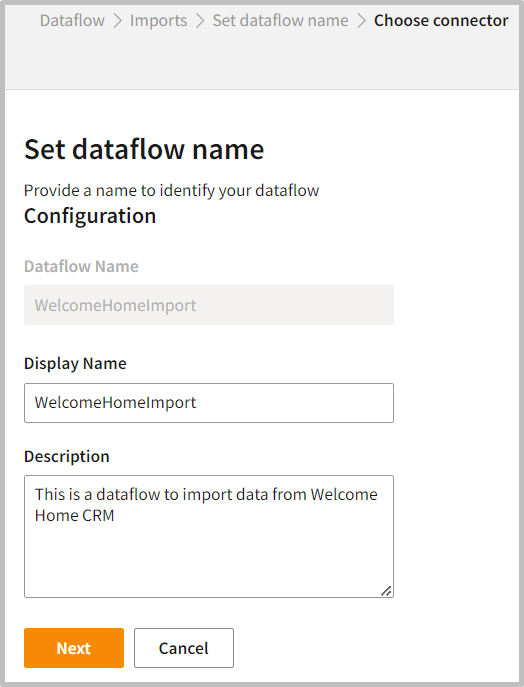
- Enter the Display Name for your dataflow in the text area.
- You can add a Description in the text area.
- Click Next.
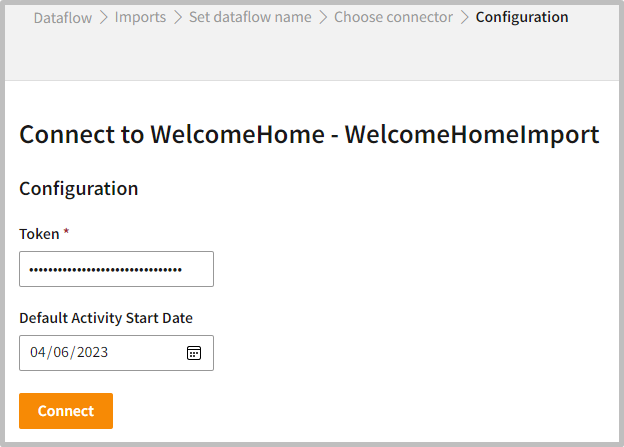
Connect to the WelcomeHome account
Log in to your WelcomeHome account using your username and password. If you do not have an account, you can create one by visiting the WelcomeHome #x21D7; website.- Enter API Token the unique identifier assigned to your application.
- Click Connect.
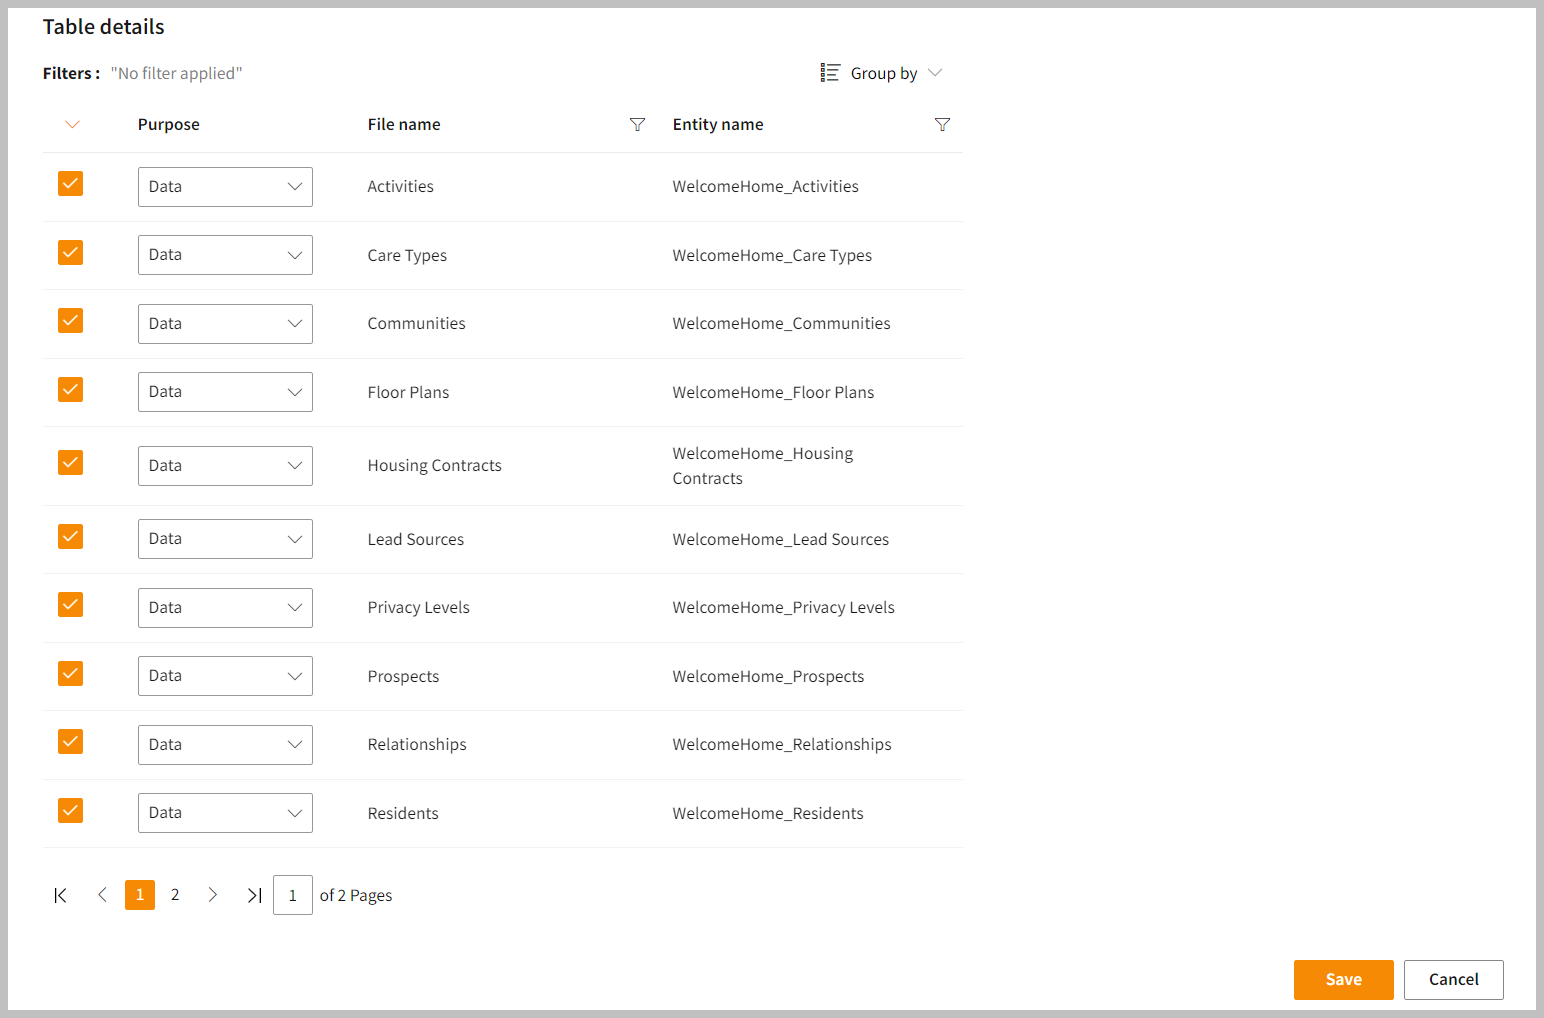
- In the Table details section, click the checkbox for the tables you wish to import, then use the dropdown to mark them as either Data or Metadata.
In the Table Details section, by default, all tables are selected. You can mark only those tables that you want to import and process the data. For example, to import customer data, you can check those tables which contain customer information, such as name, email, address, and contact details.
- Click Save to apply the changes.
Run, edit, and delete the imported data
Once the table is imported, you can execute, modify, and remove the imported table from the Dataflow. Follow the below steps:- Go to the Dataflow > Imports page.
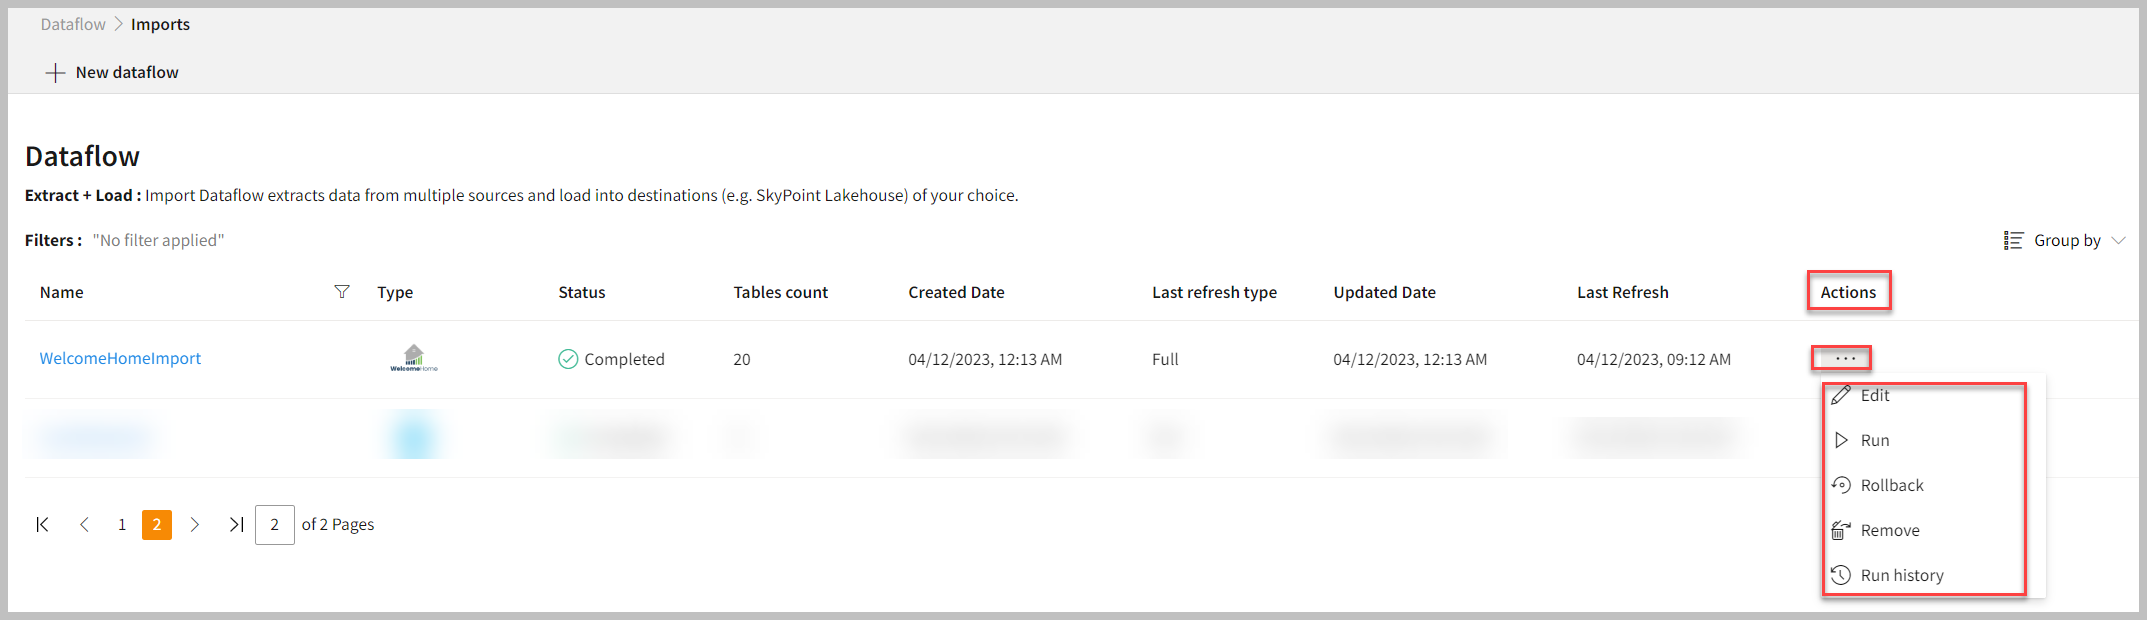
- Select the horizontal ellipsis under the Actions column and do the following:
You can see the error message corresponding to failure while importing data from a data source in the Dataflow under Run History > Description. Also, you can see the status, start time, and end time for the execution of the data pipeline.