

Connecting to Dr Chrono
Dr Chrono provides a healthcare platform with EHR, practice management, and billing, featuring the OnPatient Portal for HIPAA-compliant messaging, online scheduling, digital onboarding and patient engagement. You can seamlessly integrate DrChrono with skyData Studio to automate secure data retrieval for patients, appointments, custom demographics, appointment profiles, and doctor entities. The built-in connector with skyData Studio offers features like automatic token refresh, cursor-based pagination, and flexible synchronization with incremental updates and full data loads, ensuring data remains current and accessible. This document will guide you through the process of connecting Dr Chrono to the skyData.Prerequisite
You need the following details to configure and import data using the DrChrono⇗ connector:- Client ID
- Client Secret
- Refresh token
- Default Activity start date
To import data using the Dr Chono connector
Follow the below steps to create and configure a new dataflow for the Dr Chrono import connector:- Navigate to Dataflow > Imports.
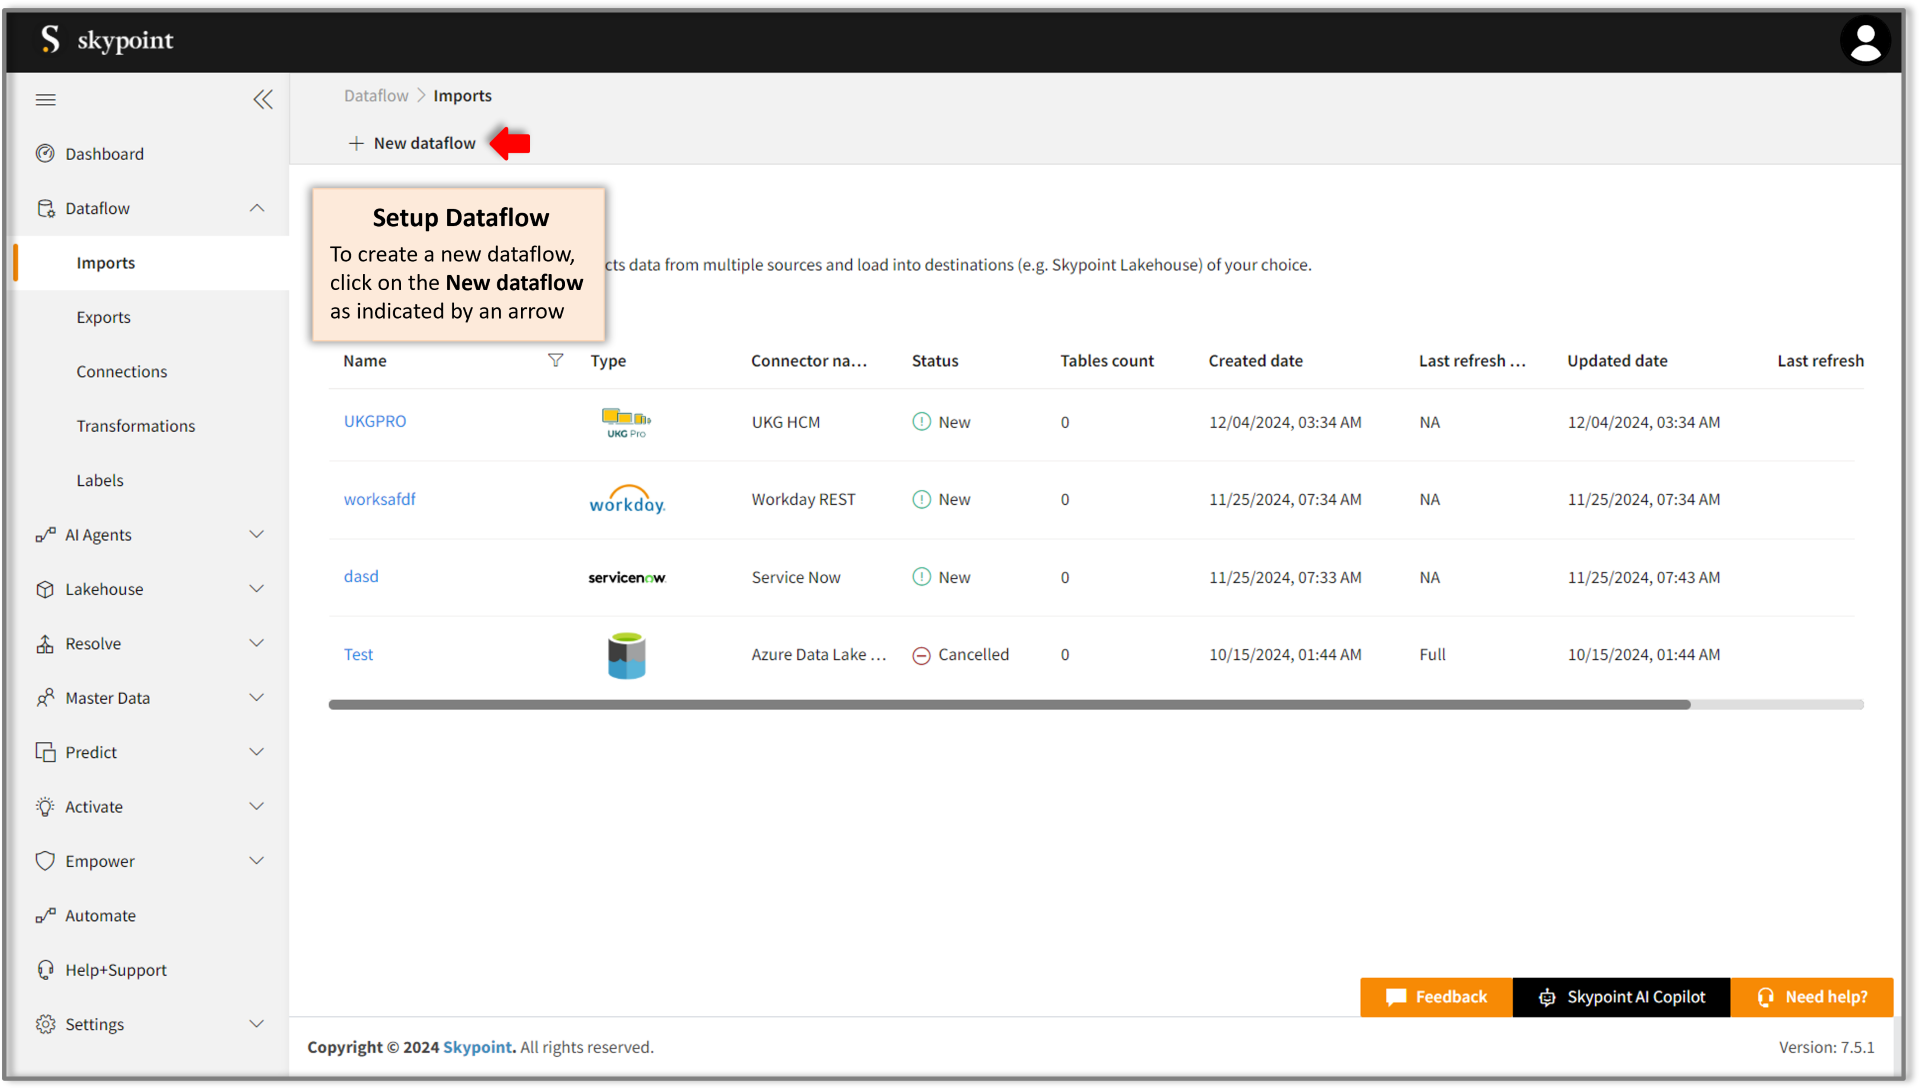
- Click New dataflow as indicated by an arrow.
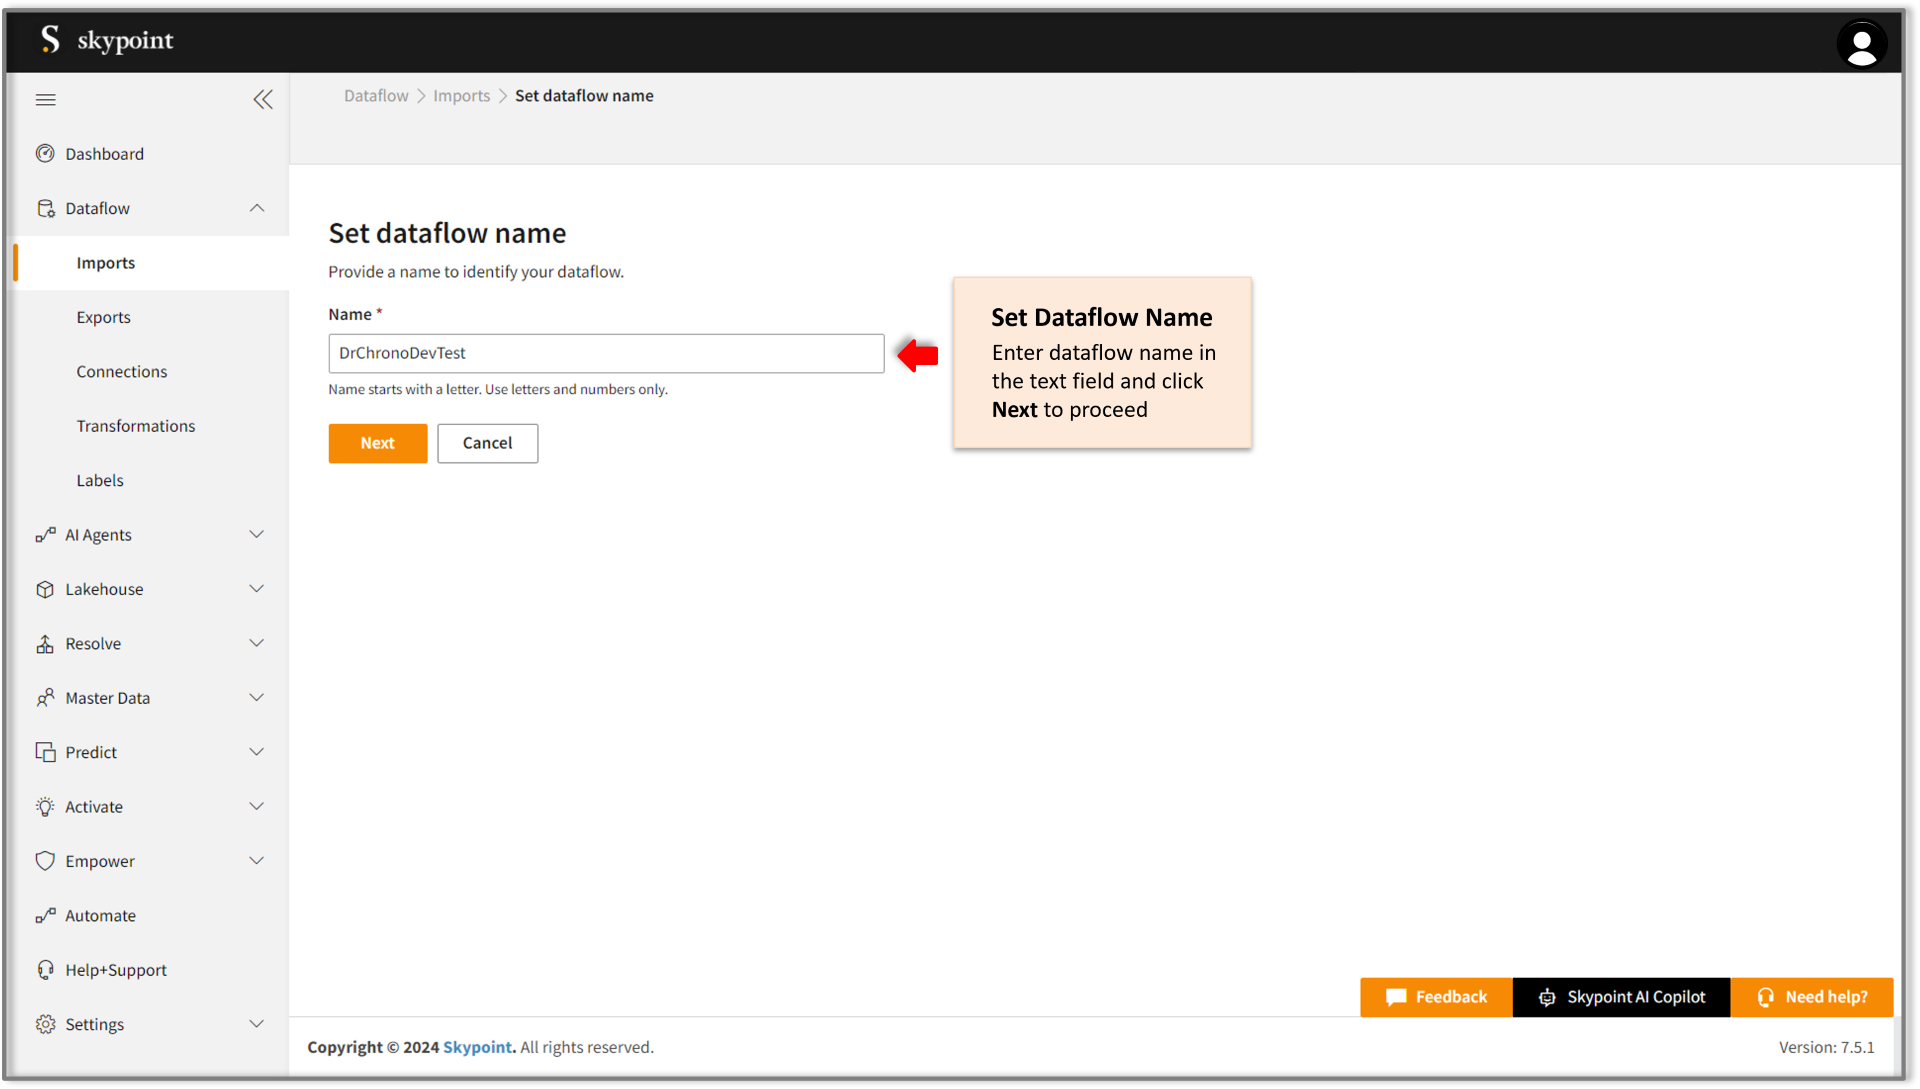
- Enter the desired name for the dataflow in the Name text field.
- Click Next to proceed.
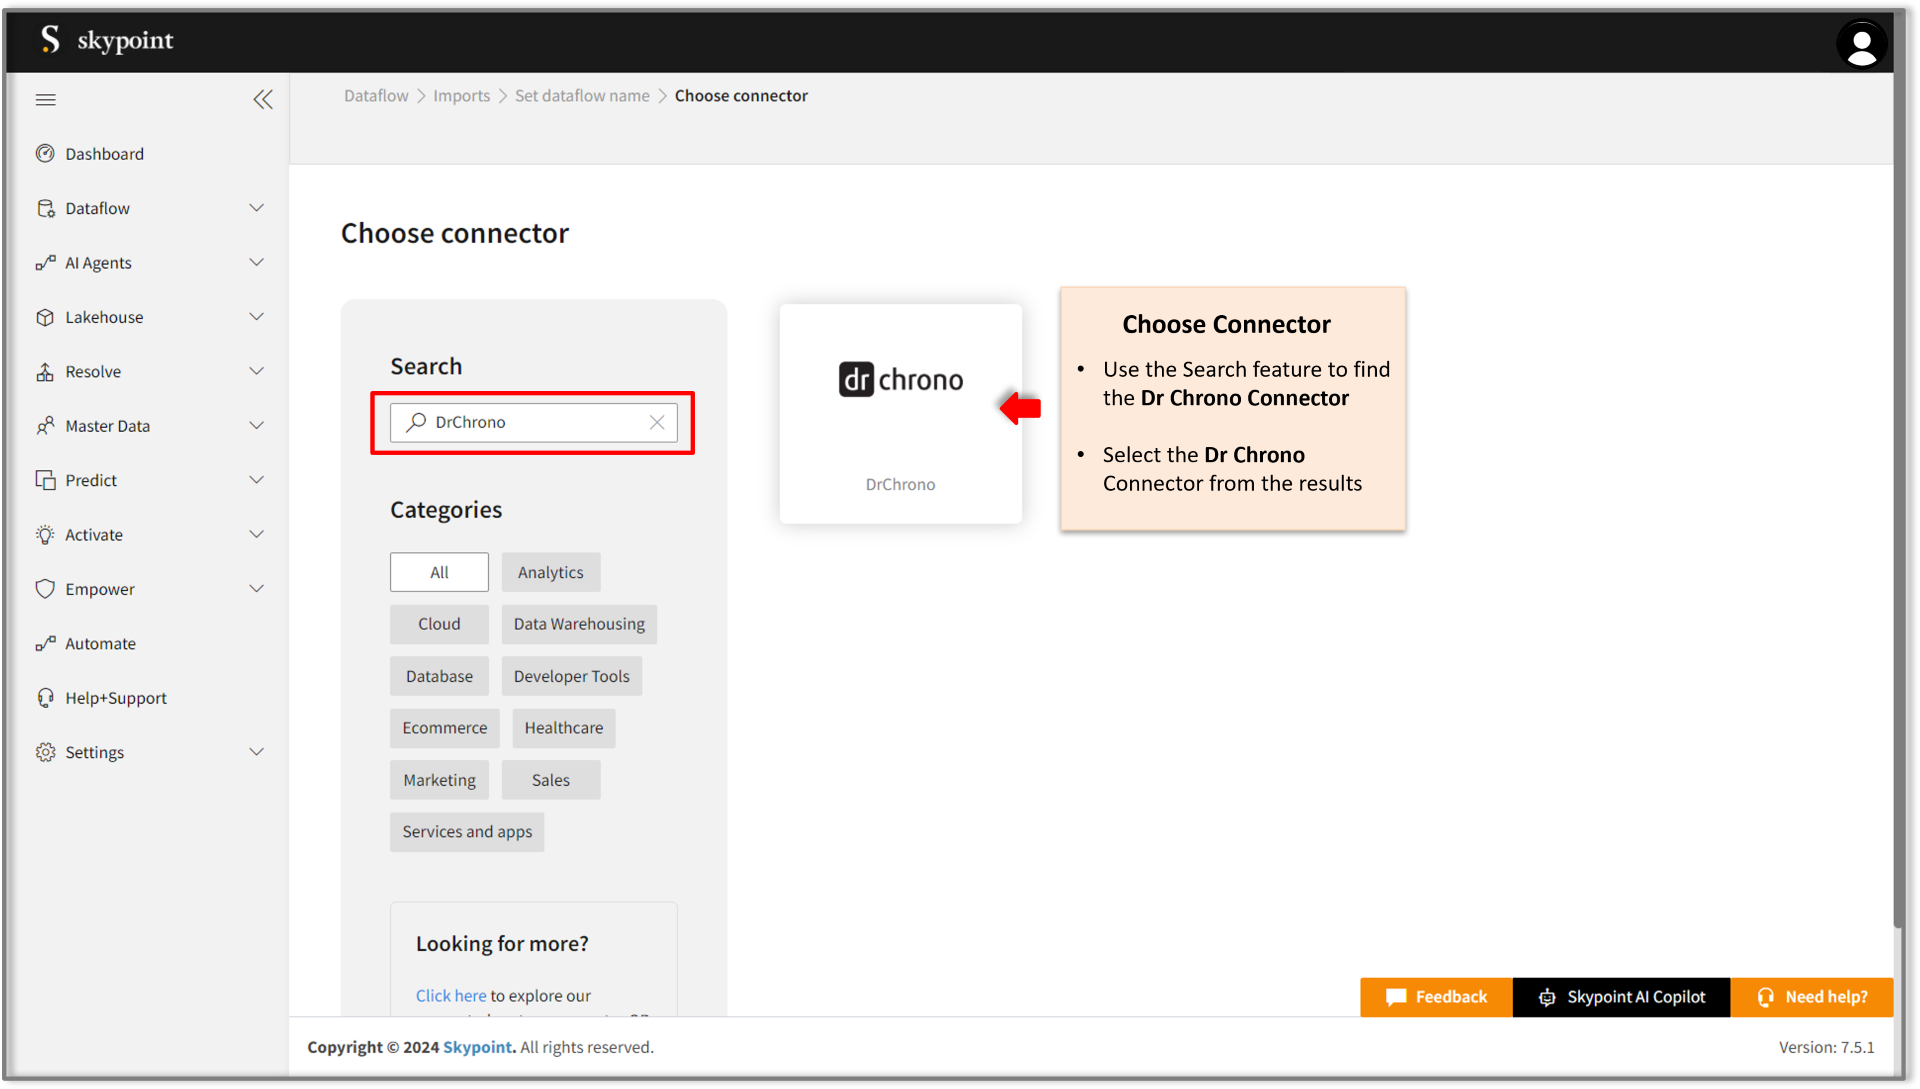
Add Dr Chrono connector
- On the Choose Connector page, use the Search feature to locate and select the Dr Chrono Connector.
- Enter the Display Name for your dataflow in the provided text field.
- Optionally, add a Description in the designated text area.
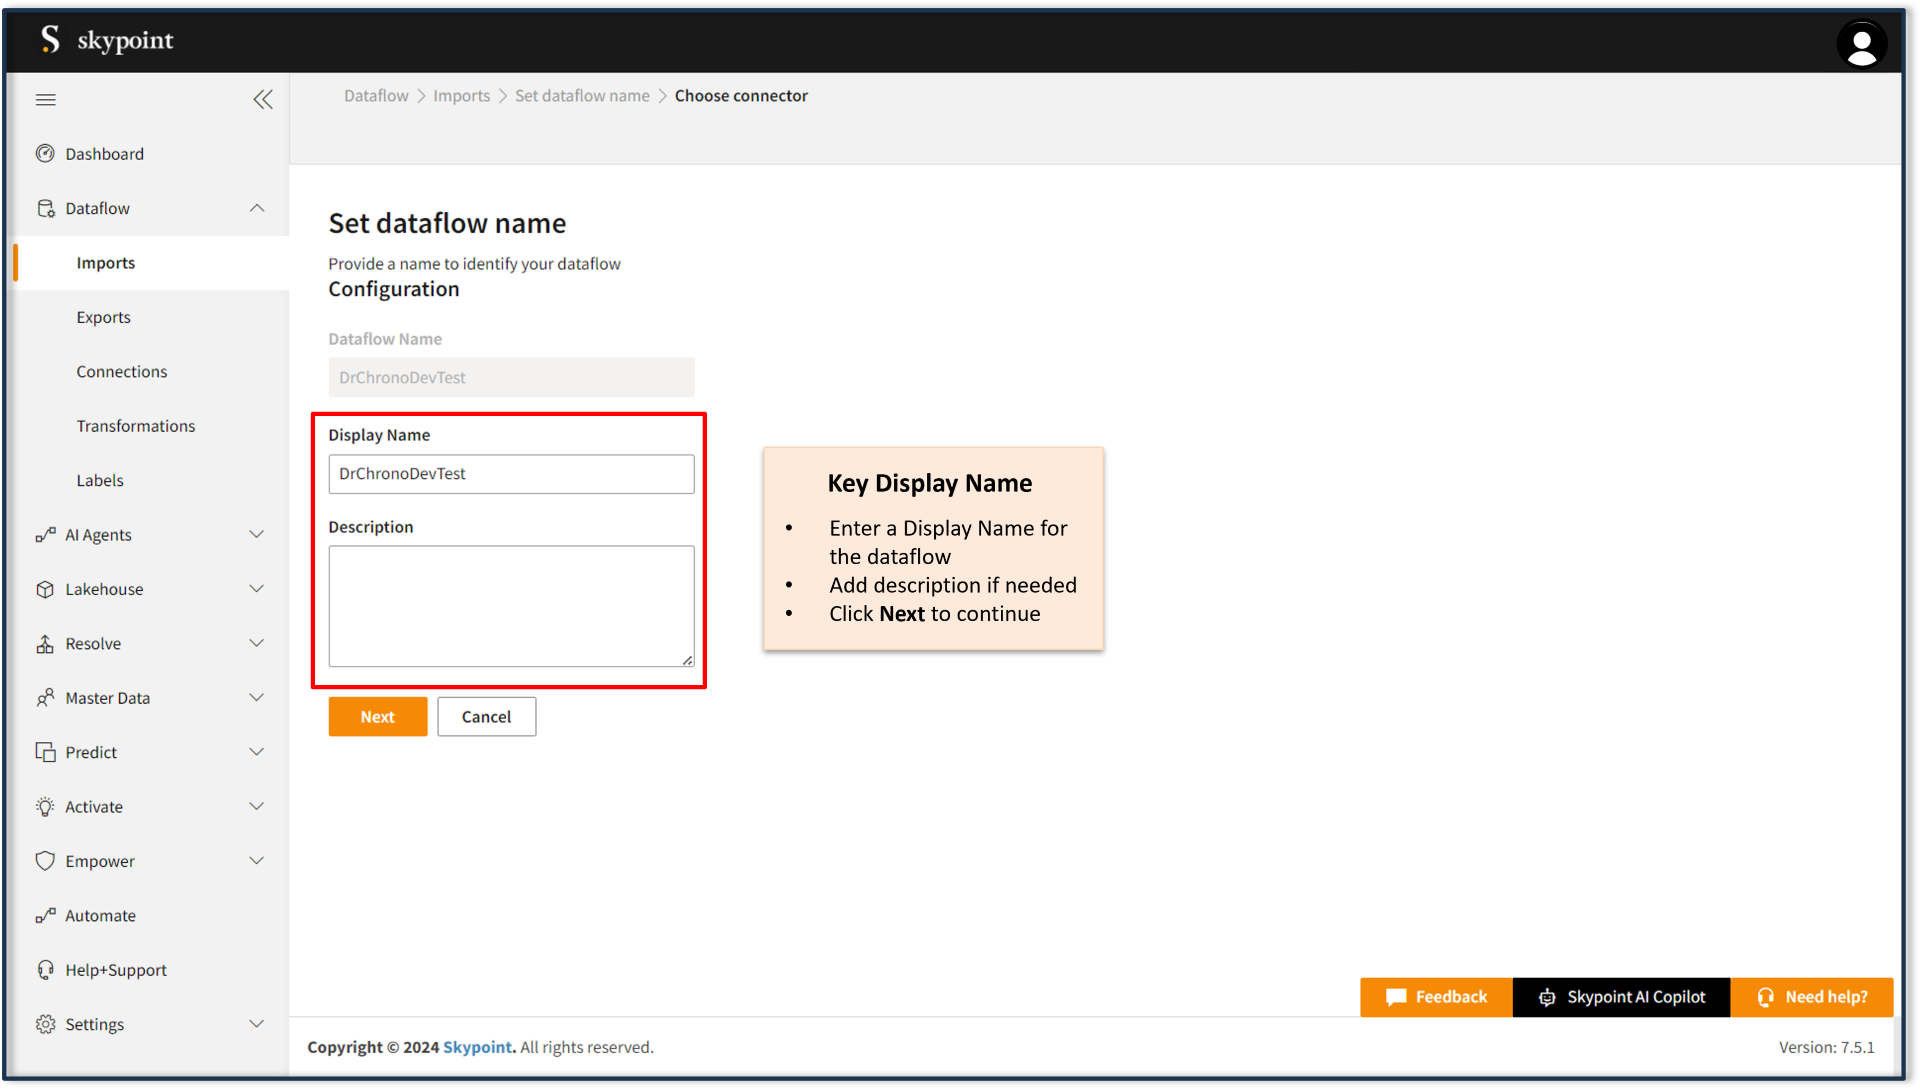
- Click Next to proceed.
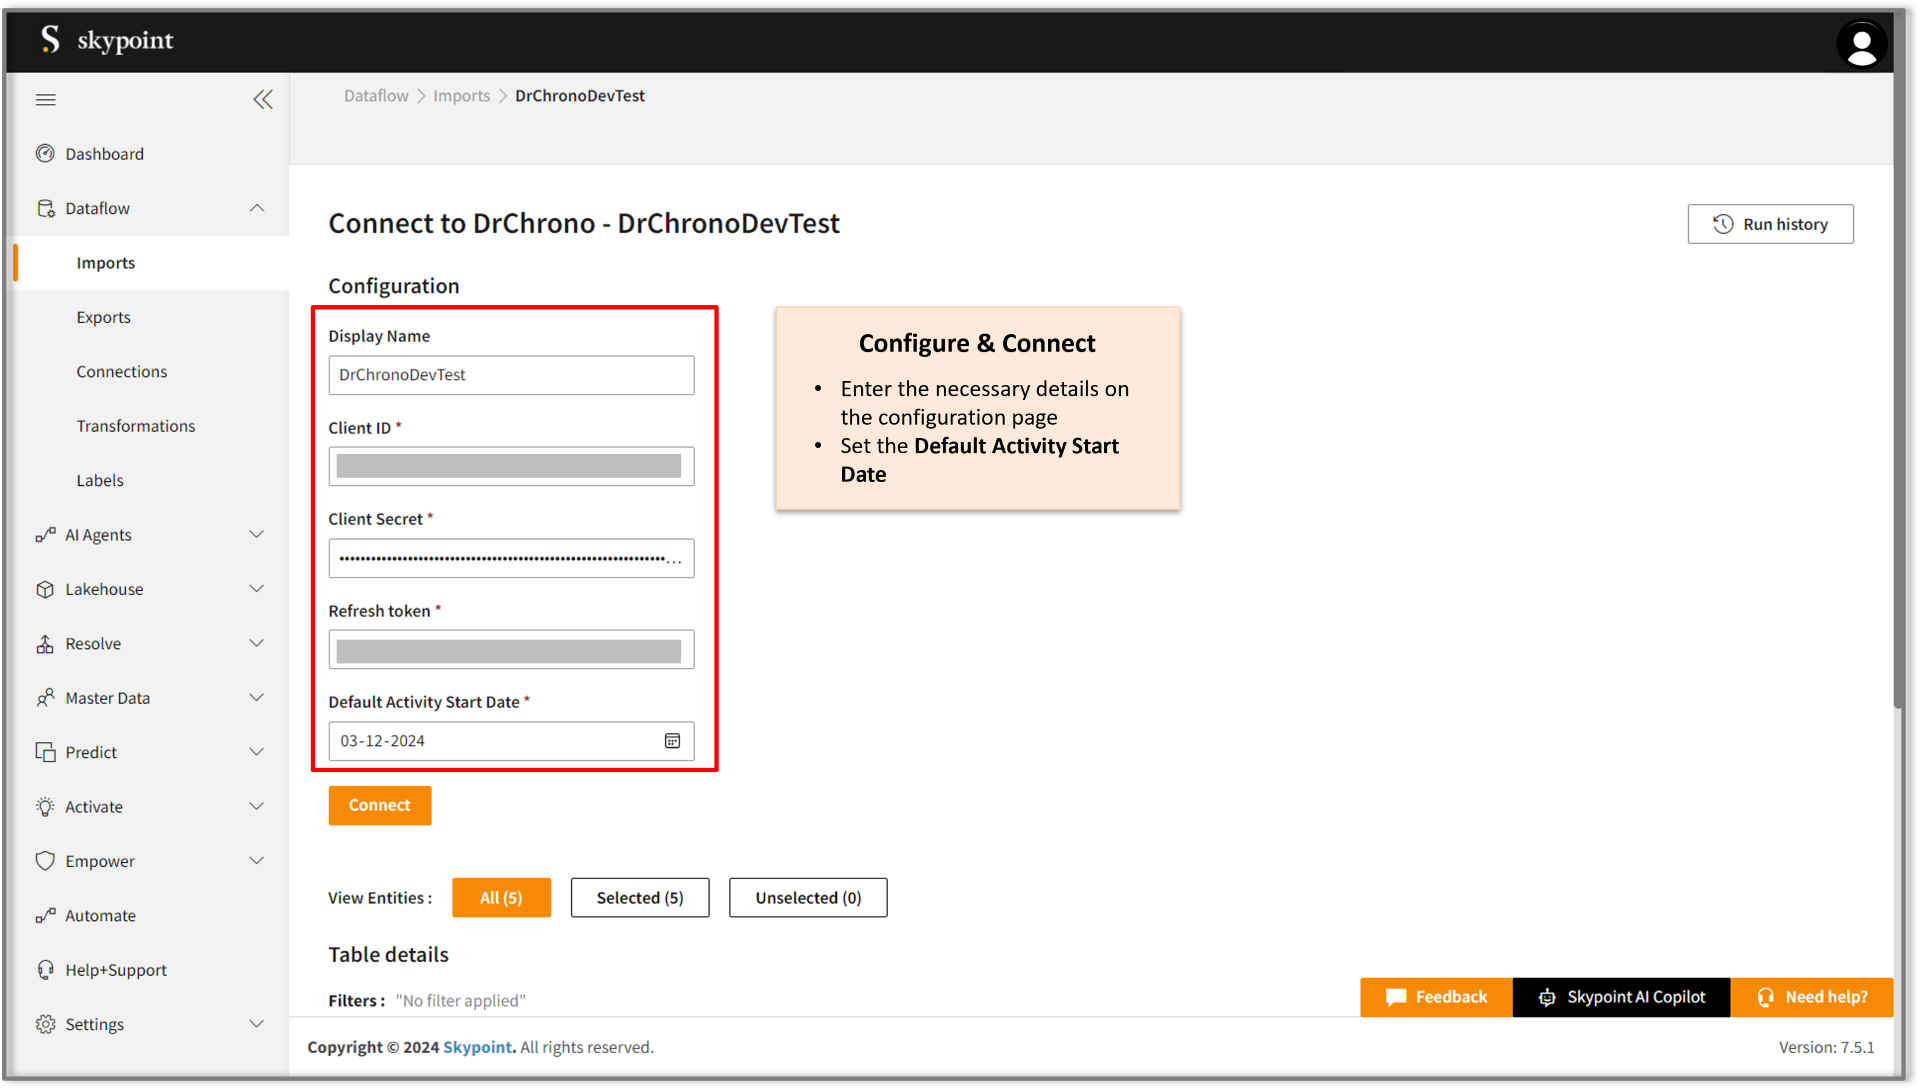
Connect to the Dr Chrono account
- Fill in the required details on the Configuration page.
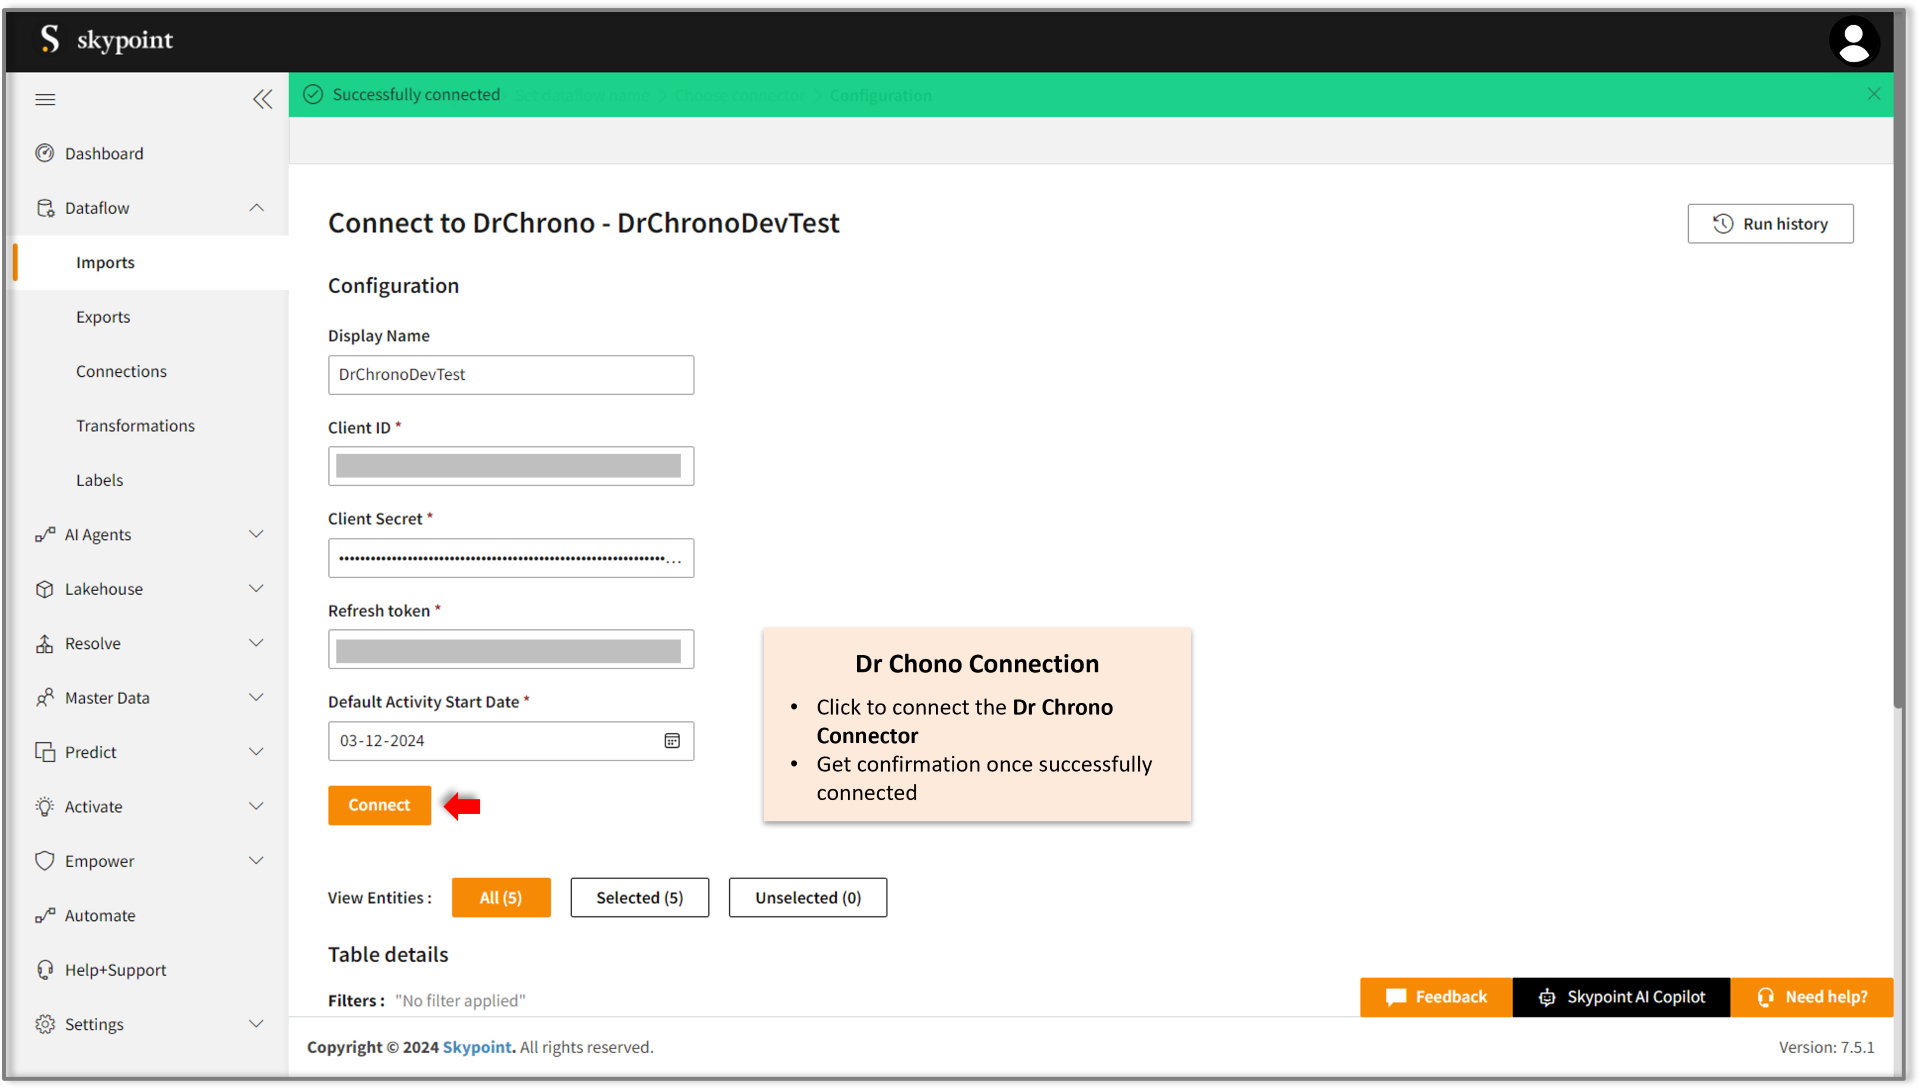
- Click Connect.
- Scroll down to the Table Details section, select the checkboxes for the tables you wish to import, and use the dropdown menu to label them as either Data or Metadata.
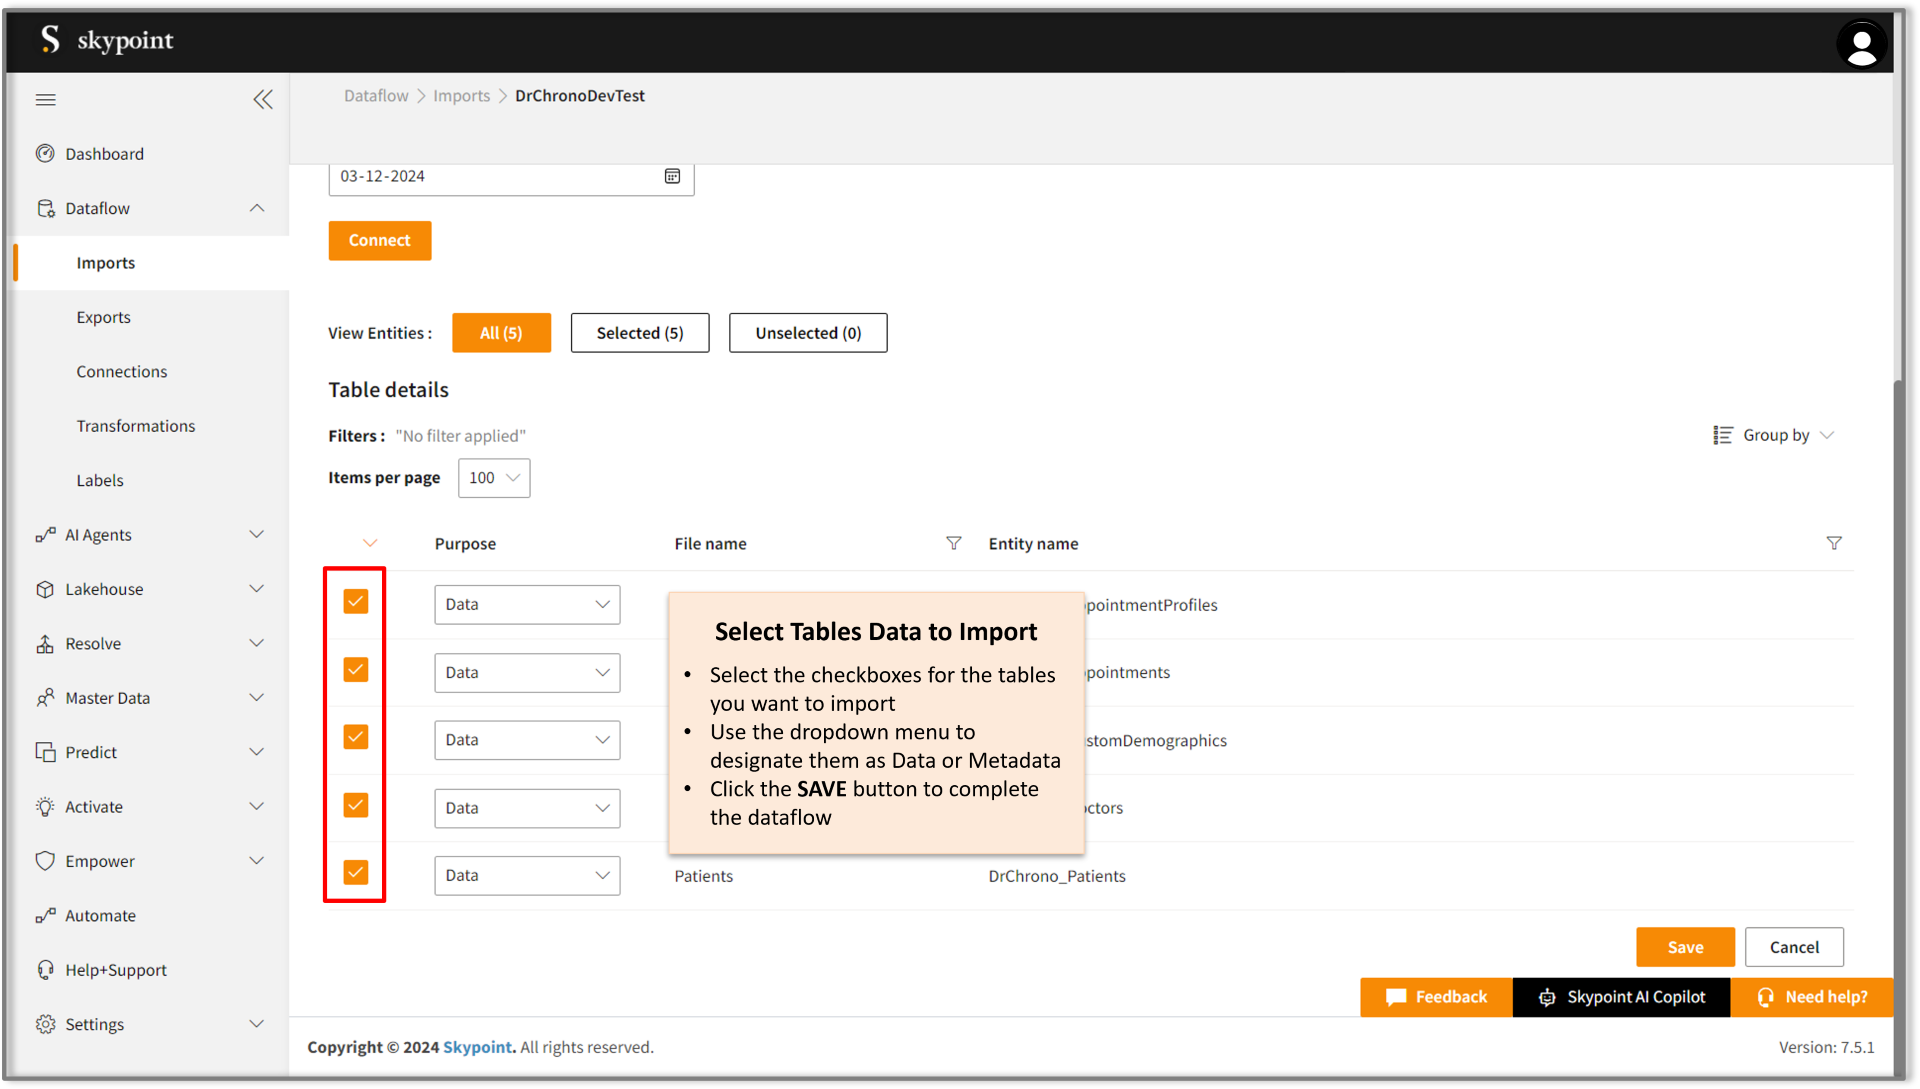
By default, all tables in the Table Details section are selected. You can choose to import only specific tables that are relevant to your data processing needs. For example, to import patient data, select tables containing details like name, email, address, patient check-in, appointments and more.
- Click Save to apply the changes.
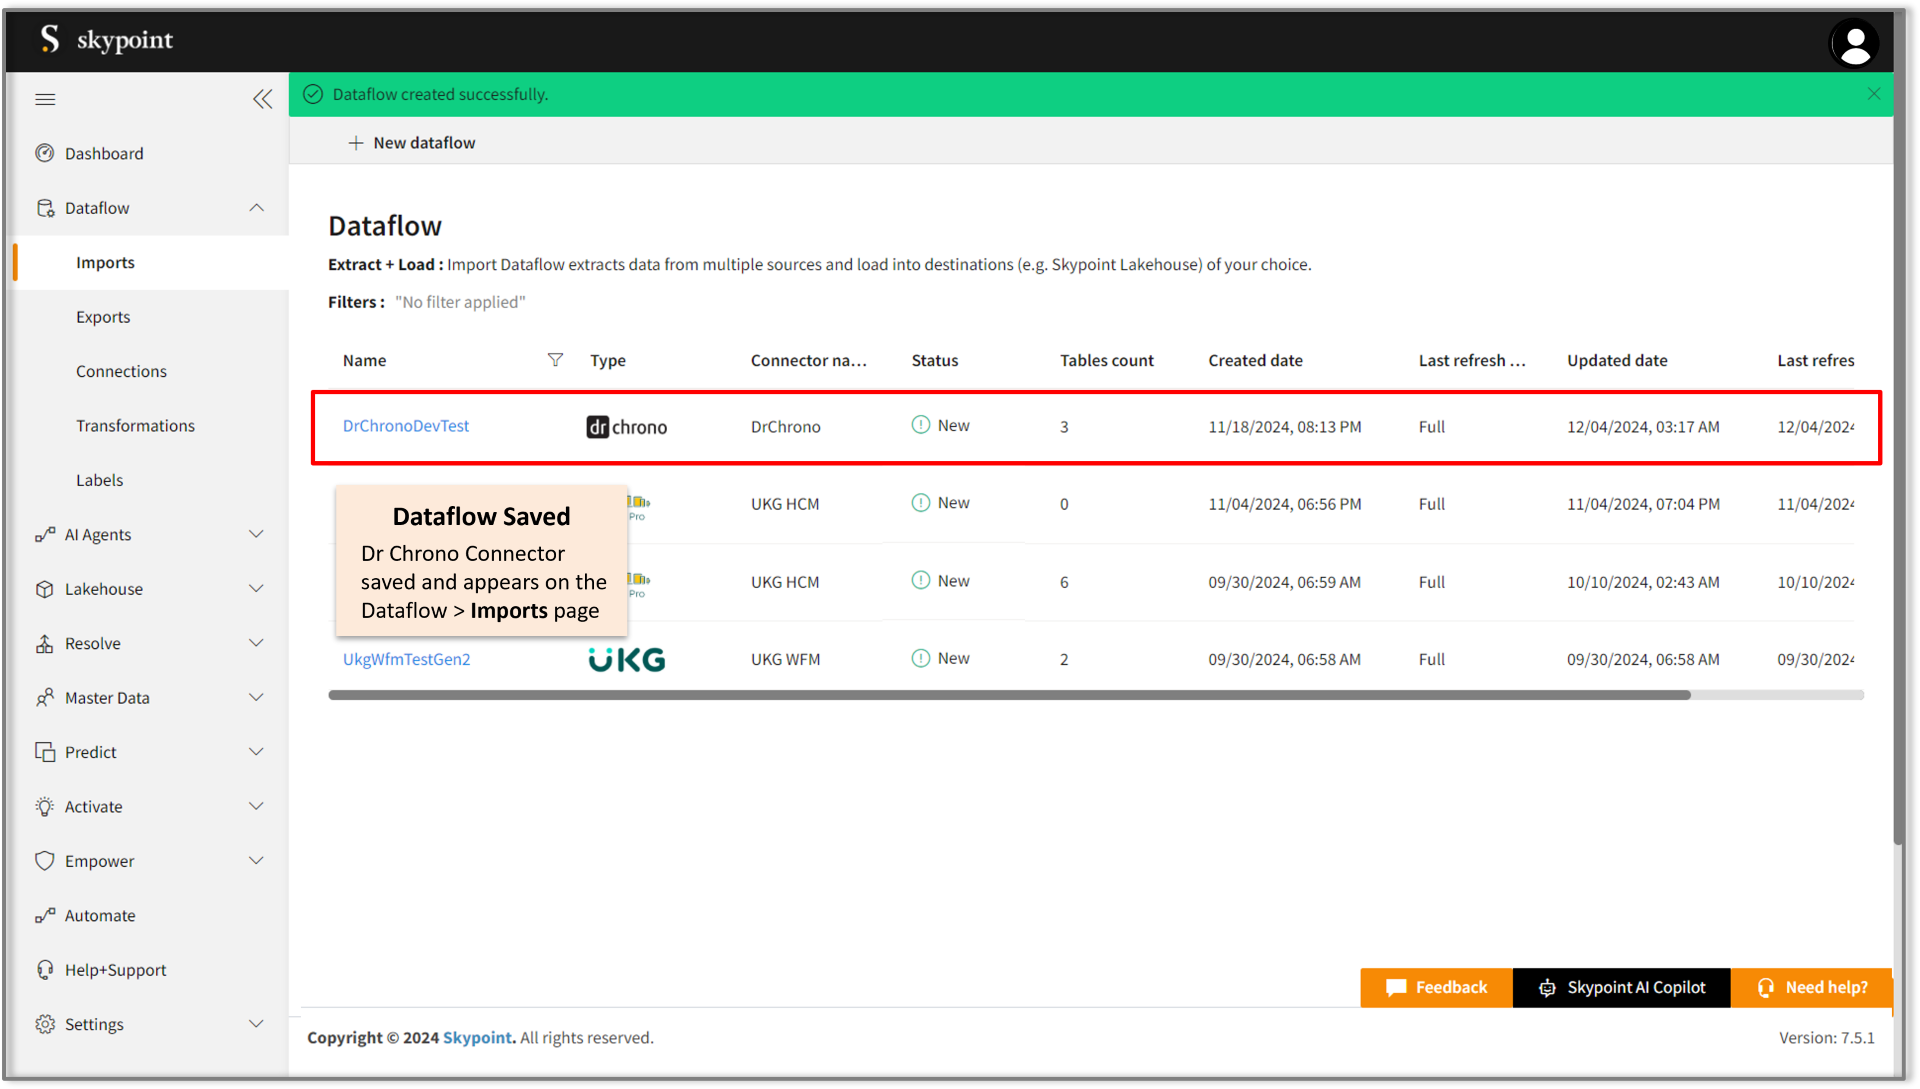
Run, Edit, and Delete the imported data
Once the table is imported, you can execute, modify, and remove the imported table from the Dataflow. Follow the below steps:- Go to the Dataflow > Imports page.
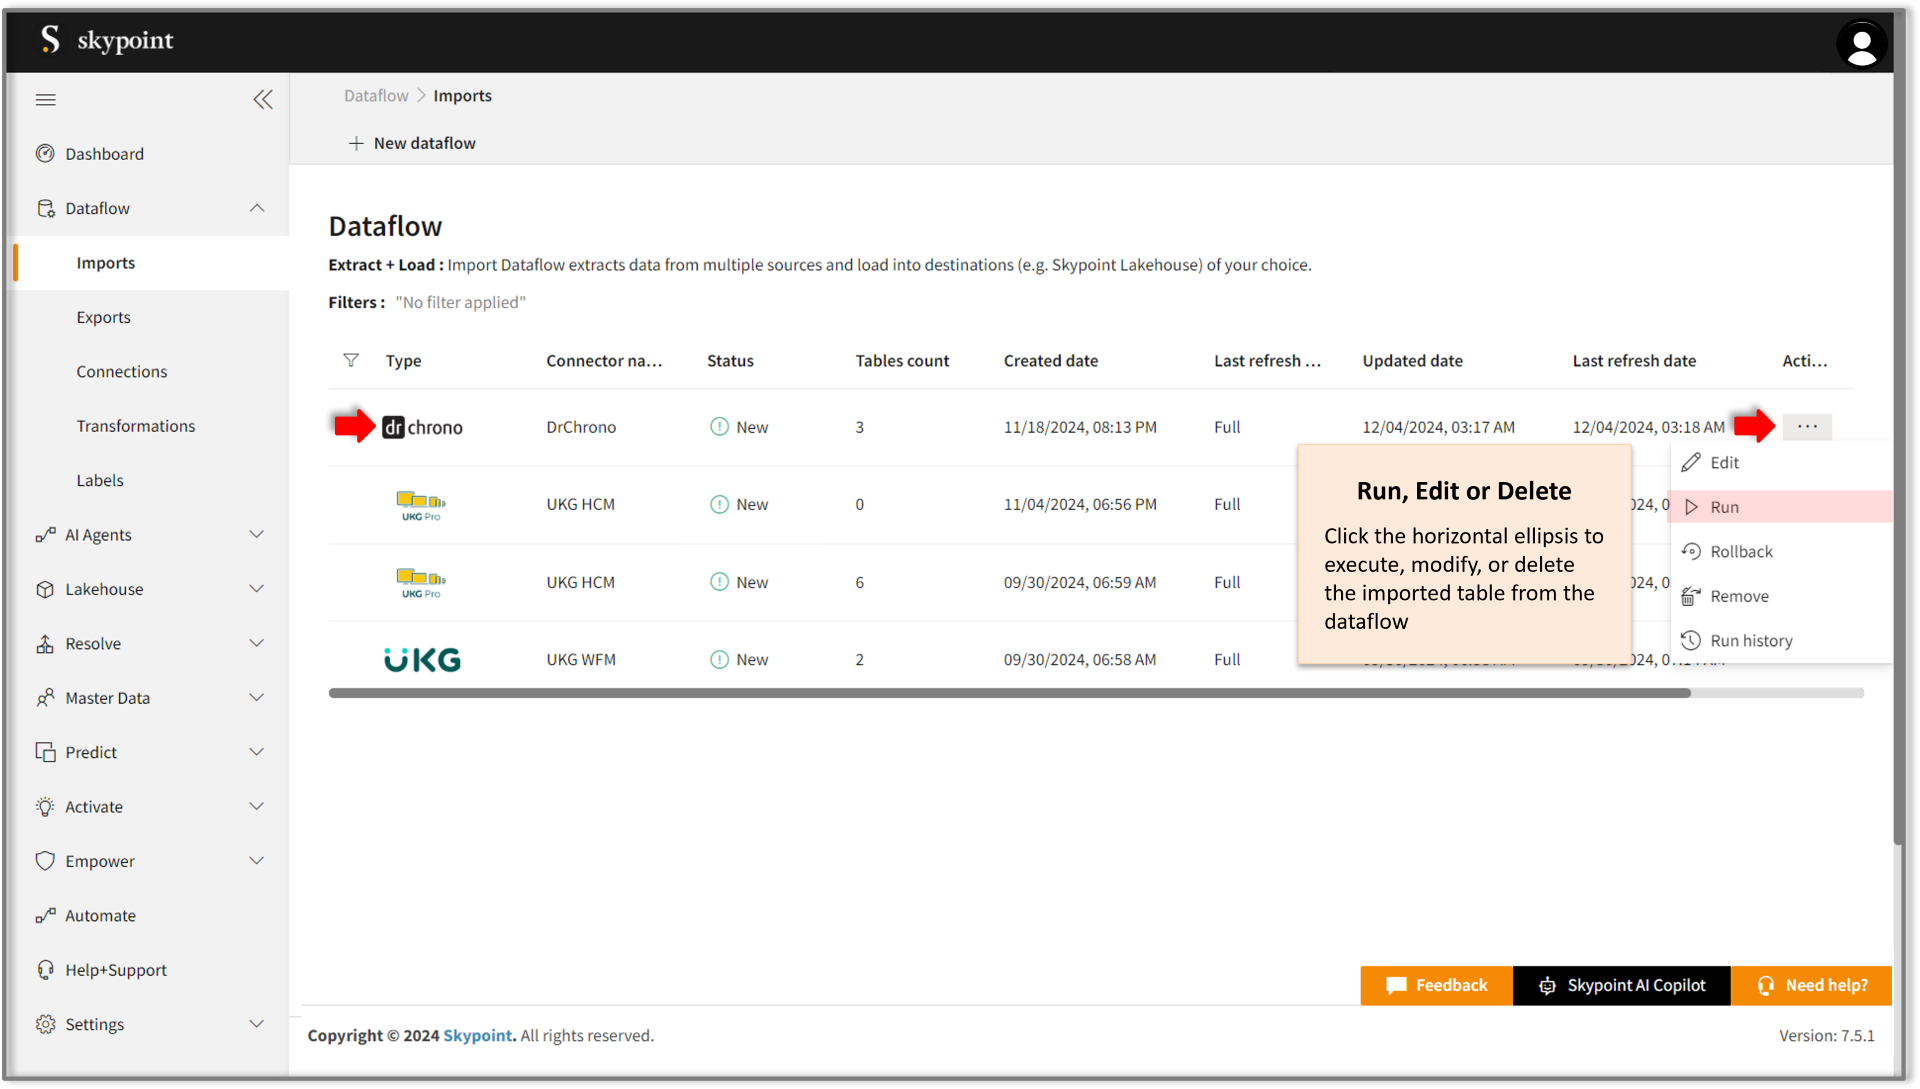
- Select the horizontal ellipsis under the Actions column and do the following:
- Click Run to execute the dataflow. Once the execution is successful, the data pipeline status will update to Completed, as illustrated in the figure below.
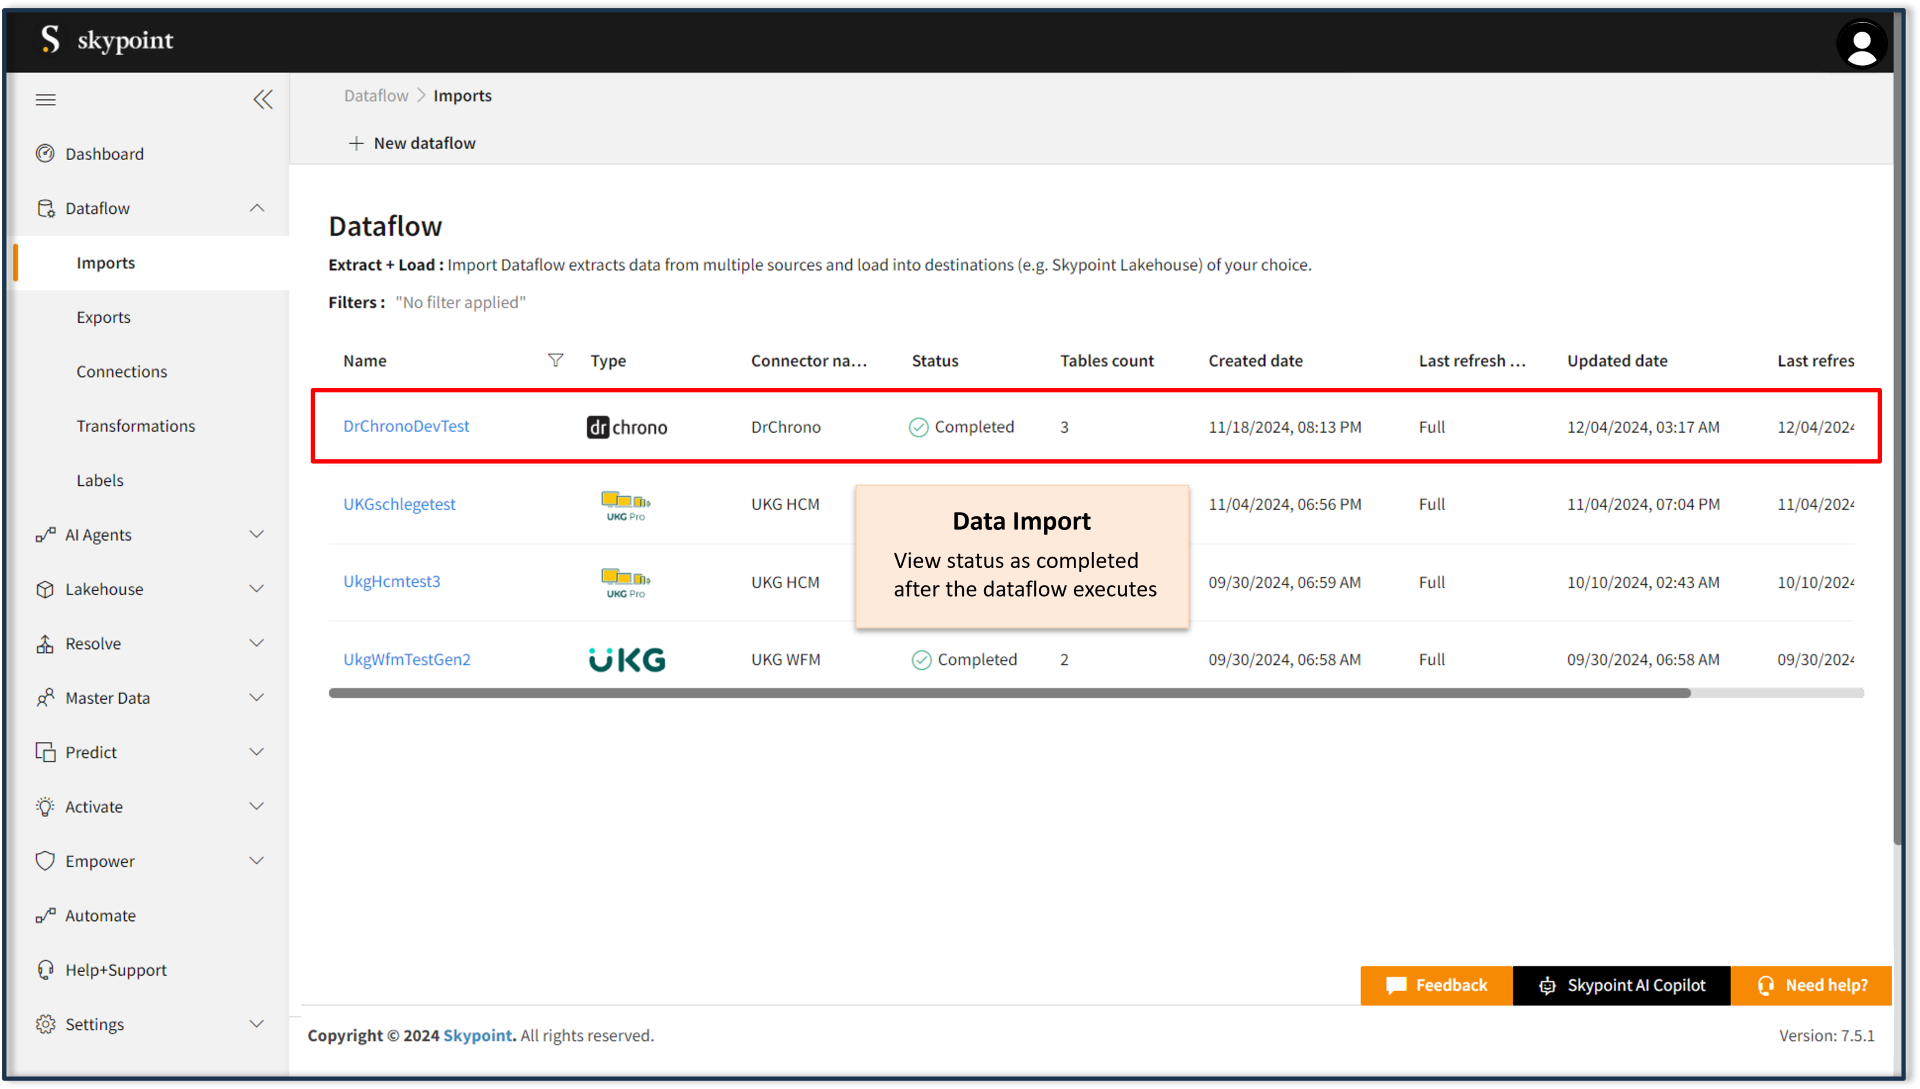
In the Dataflow’s Run History Description, you can view error messages related to data import failures from a data source. Additionally, you can check the status, start time, and end time of the data pipeline execution.