
Connecting to Shopify
Import data
Overview

Shopify is an eCommerce platform for online stores and retail point-of-sale systems. You can use Skypoint AI’s built-in connector for importing data from Shopify. This document will guide you through the process of connecting Shopify to Skypoint AI.Prerequisite
You must have the following details to configure and import data using Shopify import connector:- Shopify Account
- URI
- API password
- API key.
You can refer to the Shopify Setup guide document to learn more about the Prerequisites.
Import Data using Shopify connector
- In the left pane, go to Dataflow > Imports.

- Click New Dataflow to create dataflow.
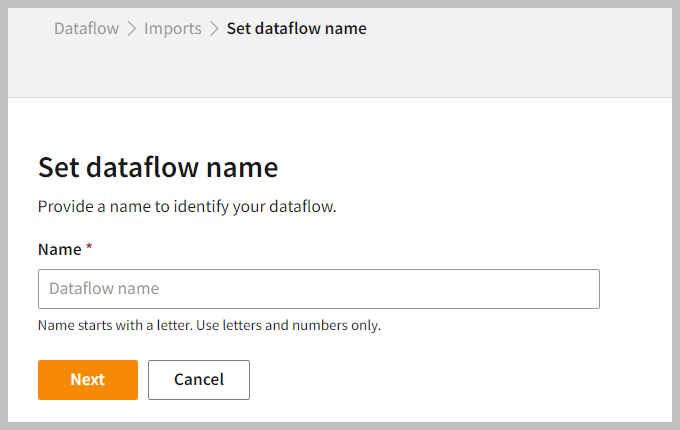
- Enter a Name to identify your Dataflow.
The name must start with a letter and can only include letters and numbers, with no spaces between them.
- Click Next.
Add Shopify Connector
- In the All categories or Ecommerce tab, select the Shopify connector to start the configuration.
- Also, you can use the Search function to find the Shopify connector.
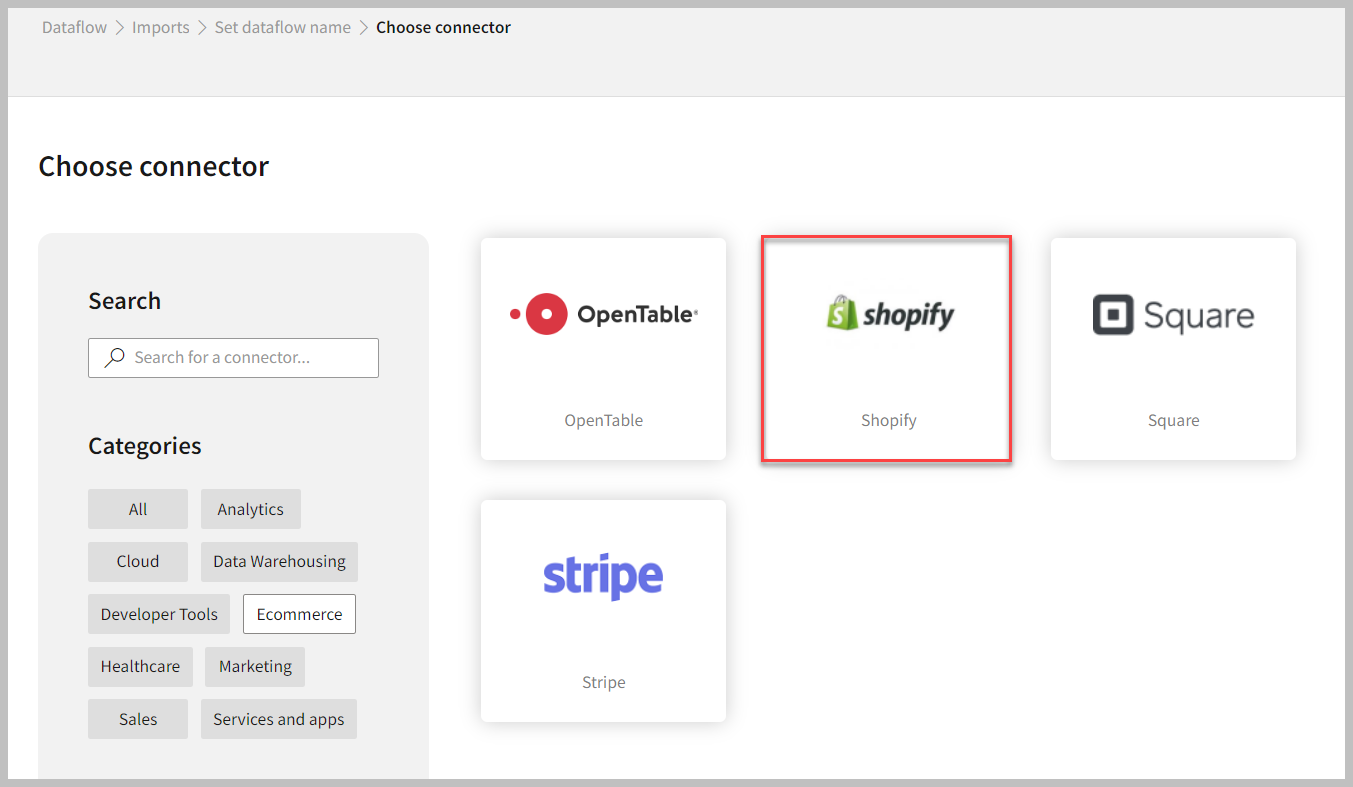
- Select the Shopify connector to start the configuration.
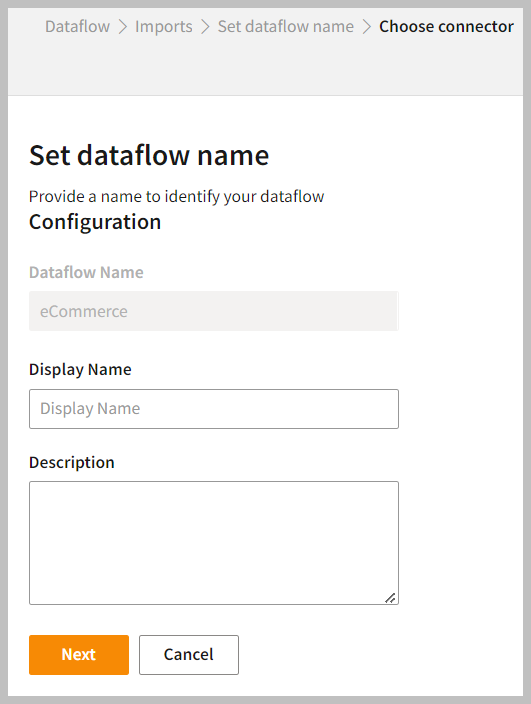
- Enter the Display Name to identify your Dataflow.
- In the Description box, you can enter an explanation of the connector.
- Click Next.
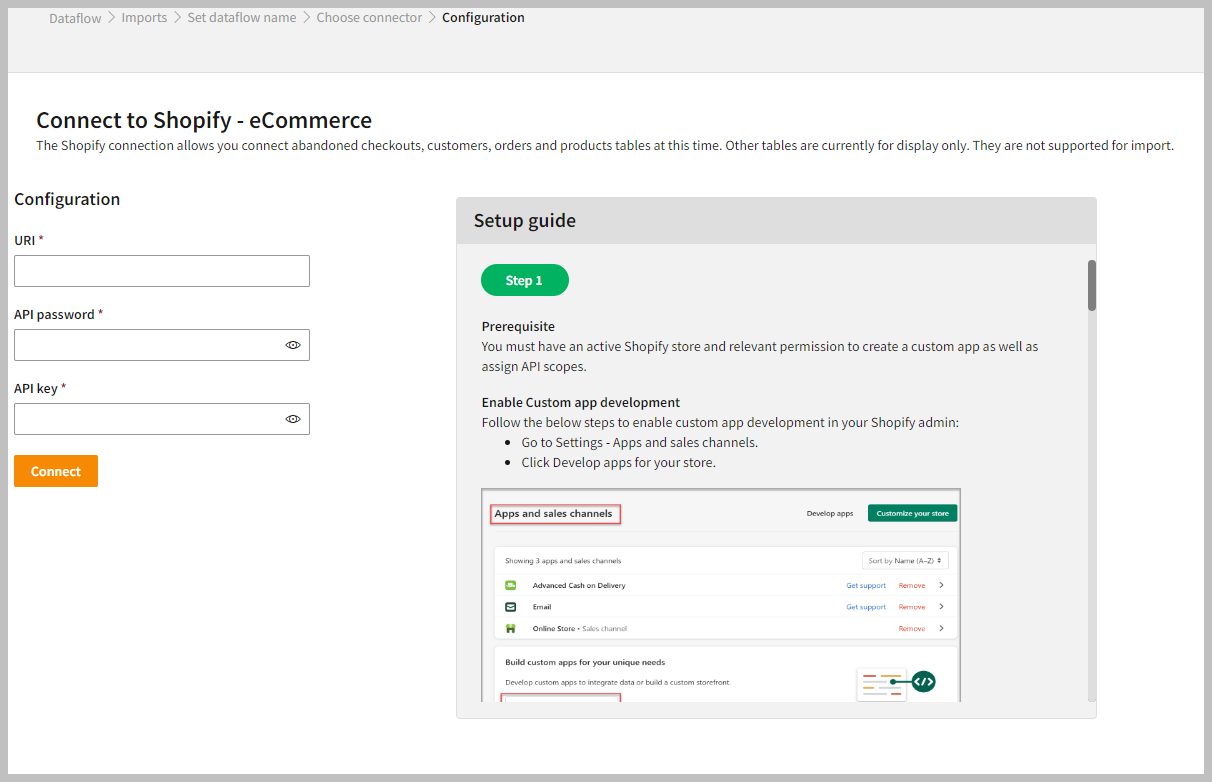
To configure Shopify
Follow the below steps to configure the connection to Shopify:- Enter your credentials such as Uniform Resource Identifier (URI), API Password, and API Key to connect with Shopify.
- Click Connect.
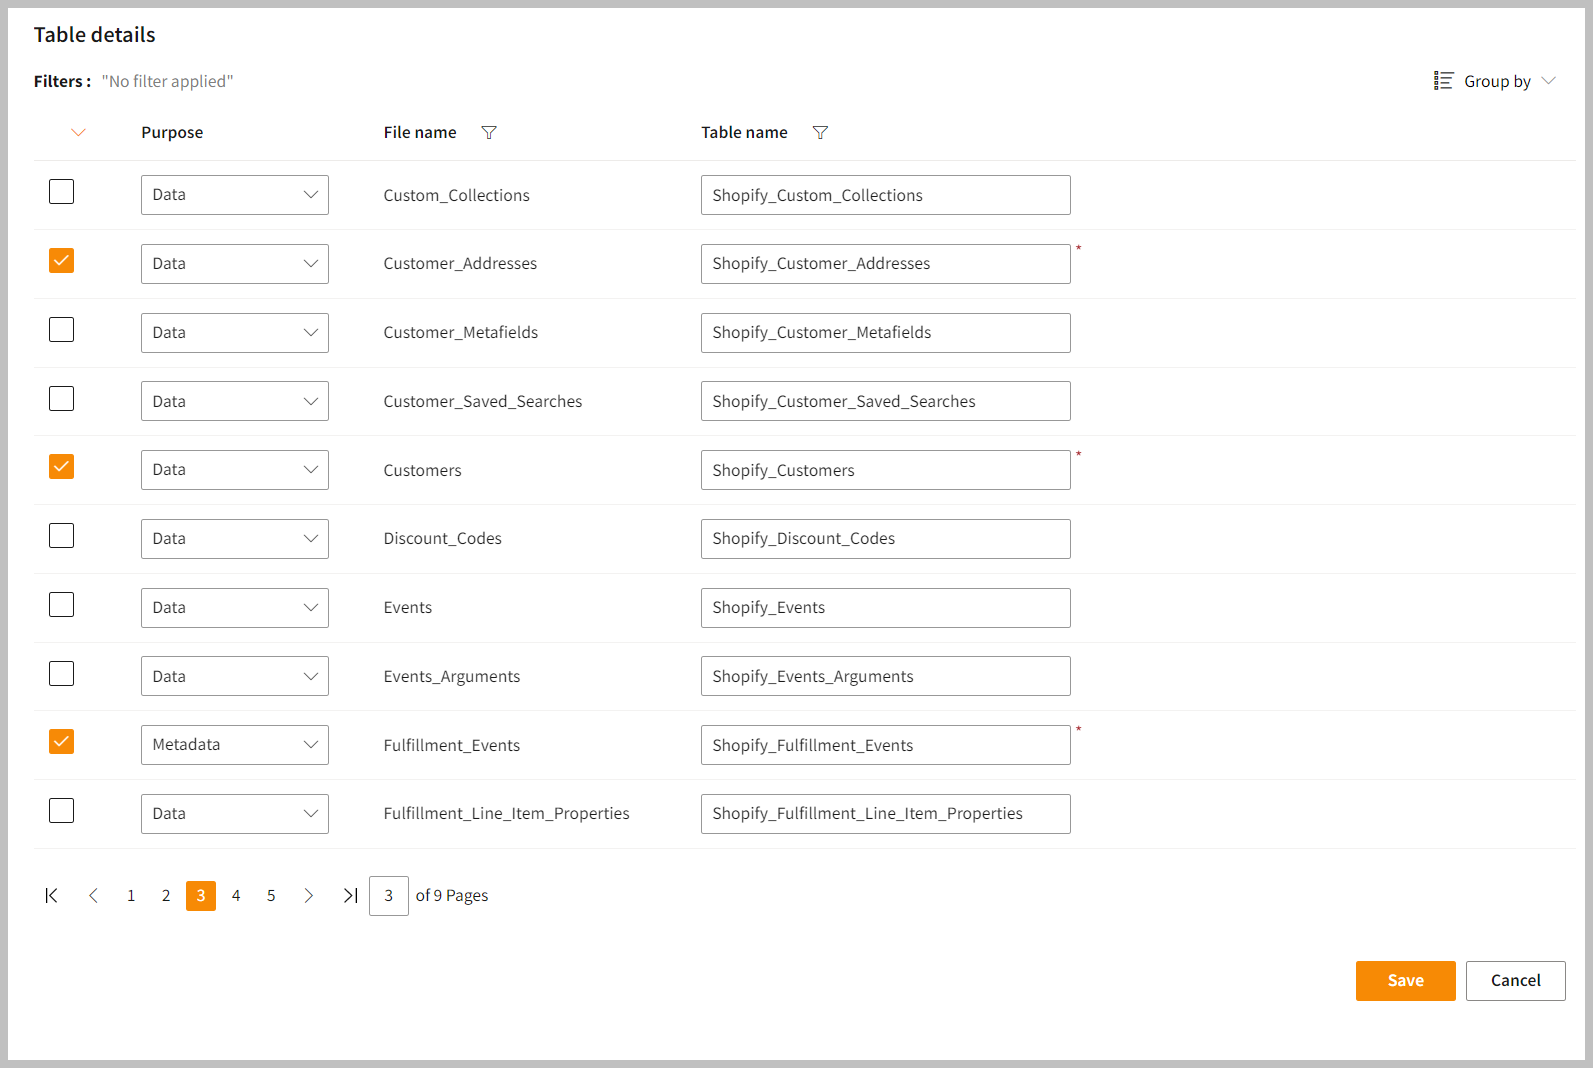
- After configuration, you can enter the Table Details to process the data.
In the Table Details column, you can select only those data fields that you want to import and process.
- Click Save to apply the changes.
Run, edit, and delete the imported data
- After saving the connection, the Shopify connector appears on the Dataflow page. Also, you can see the list of created tables in the Databases section.
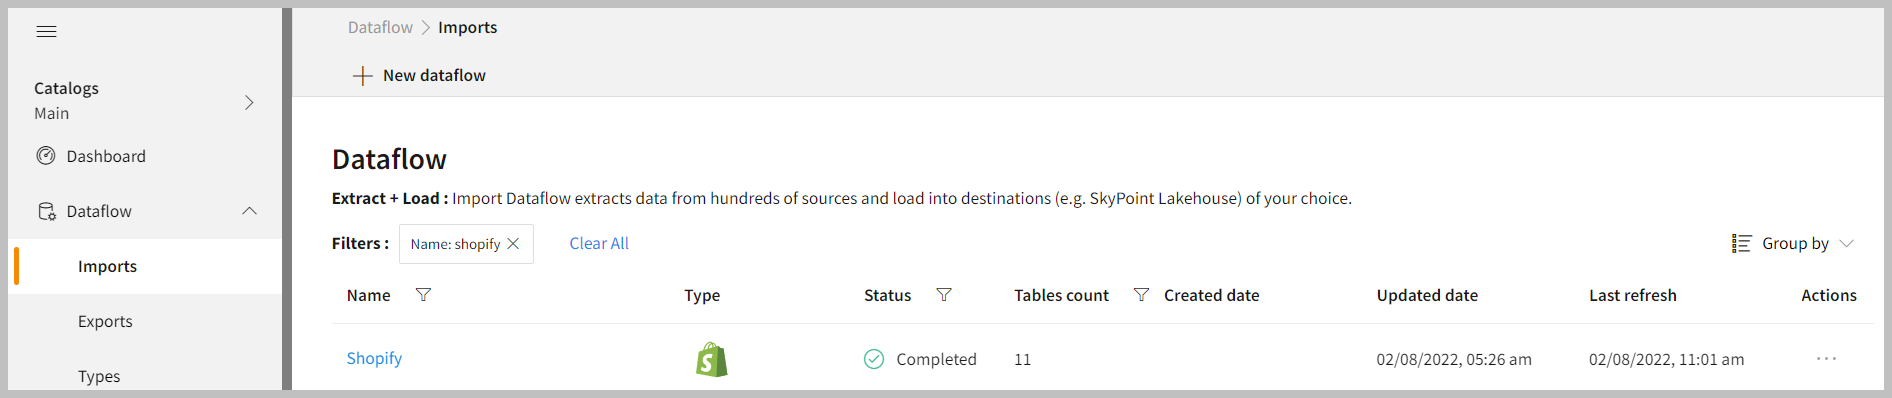
- Select the horizontal ellipsis in the Actions column and do the following:
In the Dataflow, you can view the error message for data import failures from the data source under Run History > Description.
Setup guide
Overview
This document will help you gather all credentials for connecting Shopify with Skypoint AI.Prerequisite
You require an active Shopify store and relevant permissions to create a custom app as well as assign API scopes.Enable Custom app development
Follow the below steps to enable custom app development in your Shopify admin:- Go to Settings > Apps and sales channels.
- Click Develop apps for your store.
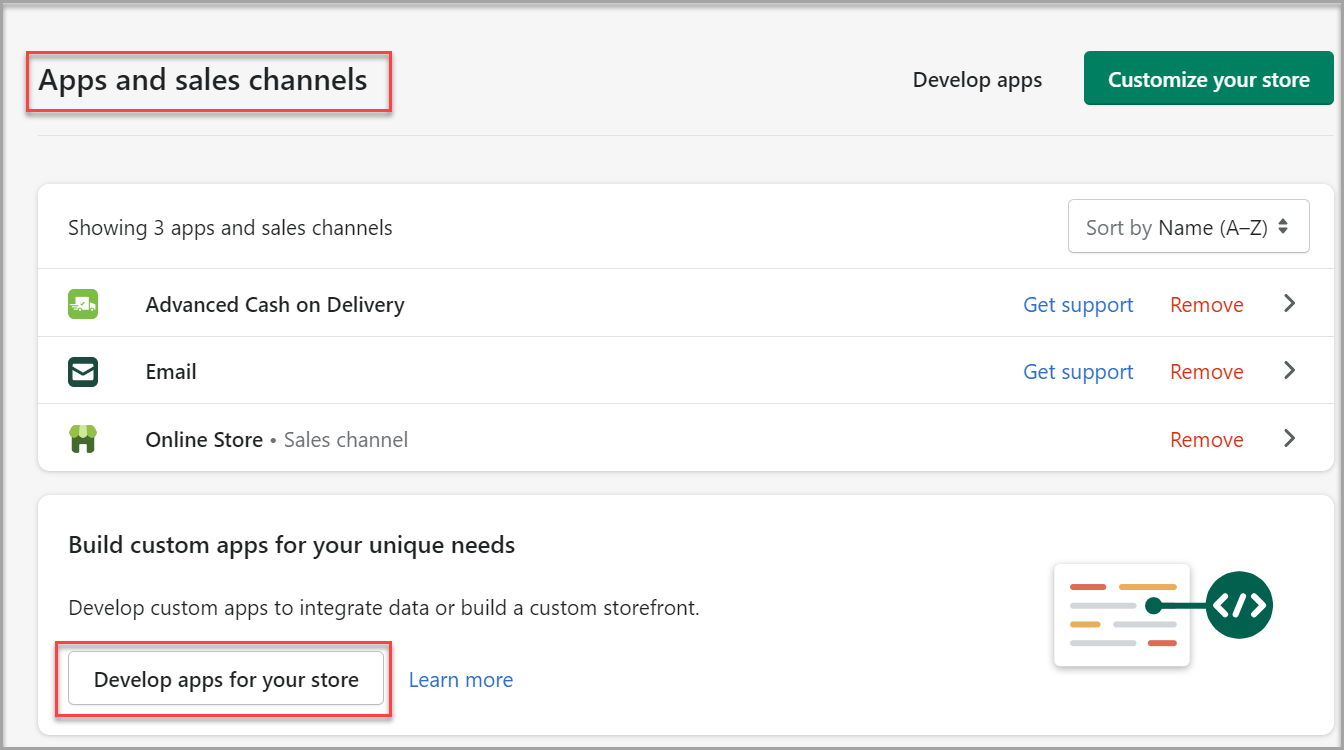
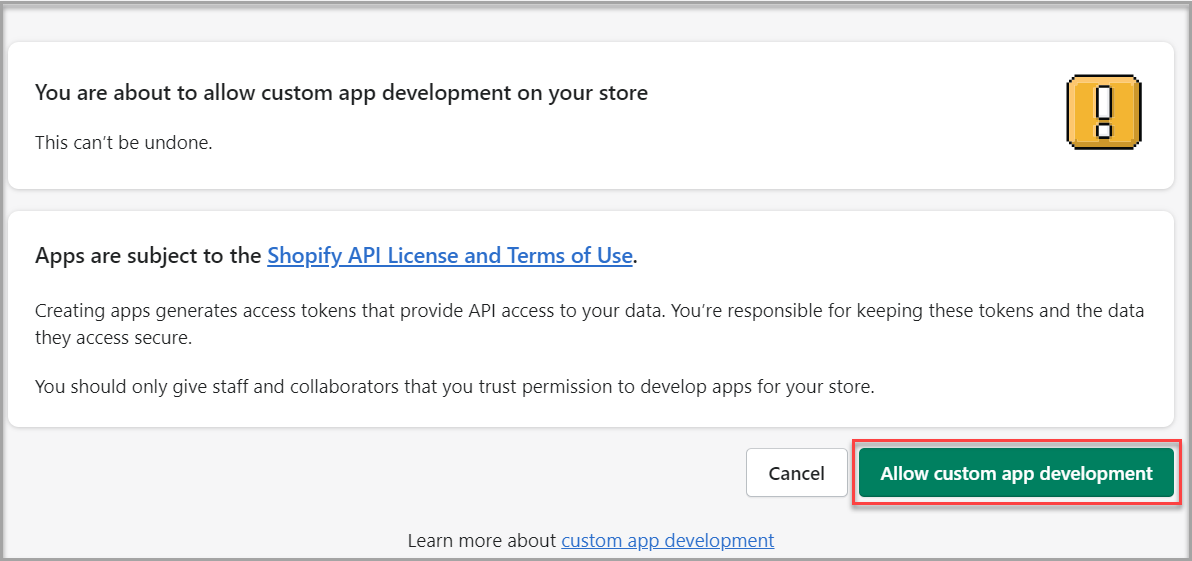
- Click Allow custom app development.
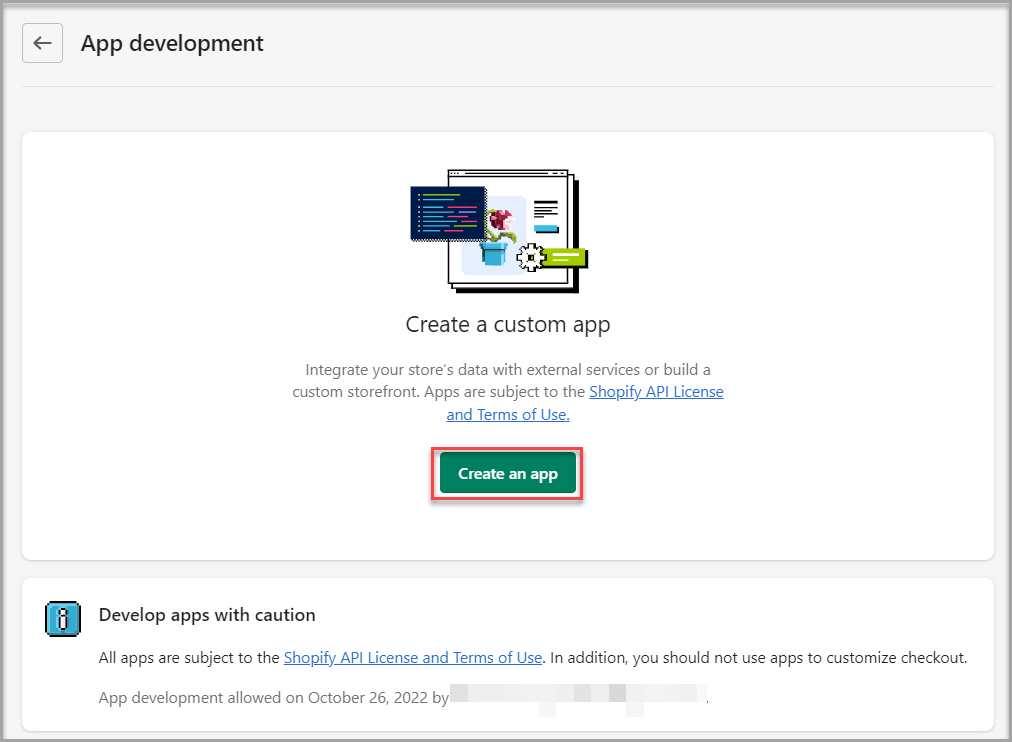
- Click Create an app to integrate your store’s data with external services or build a custom storefront.
- A Create an app pop-up appears.
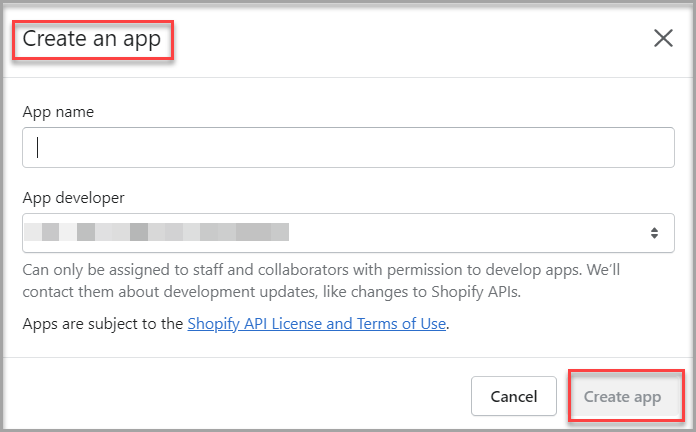
- Type your App name in the text area.
- Select the App developer from the drop-down list.
- Click Create app.
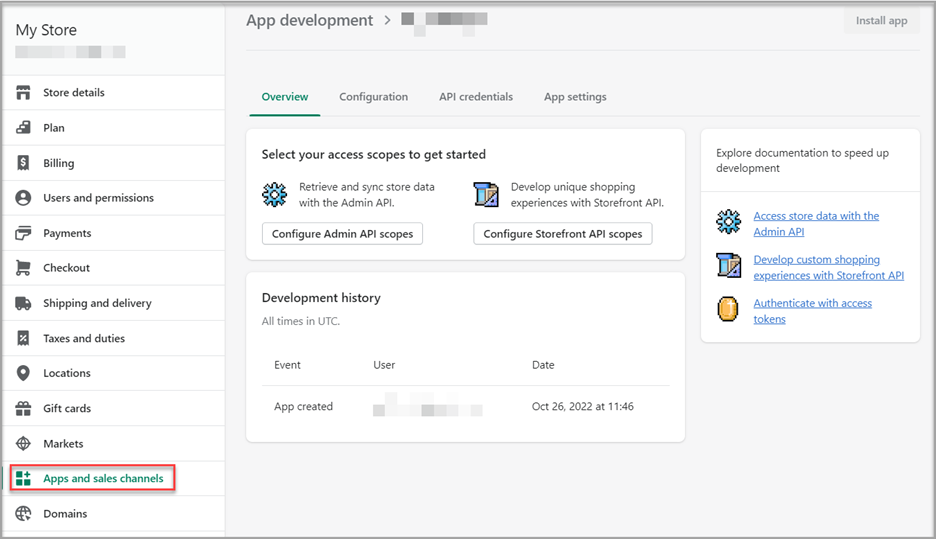
- Click Configure Admin API scopes.
- Select your preferred Admin API access scopes.
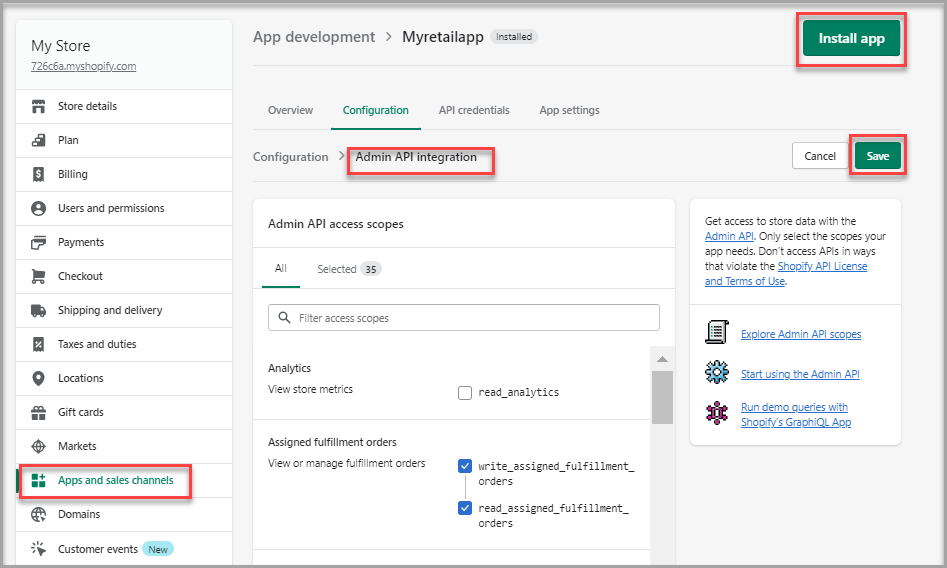
- Configure the Storefront API scopes.
- Click Save and then click Install app.
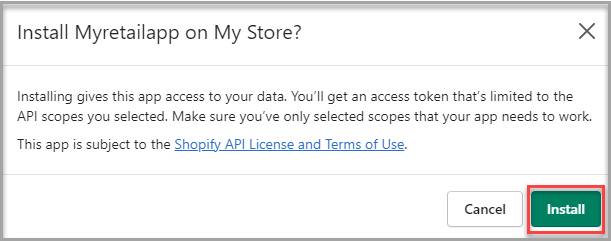
- Click Install.
To find the Configuration credentials
Follow the below step to find the required credentials for configuring Shopify import connector:- Go to Apps and sales channels > API credentials to find the API key, API access token, and URI.
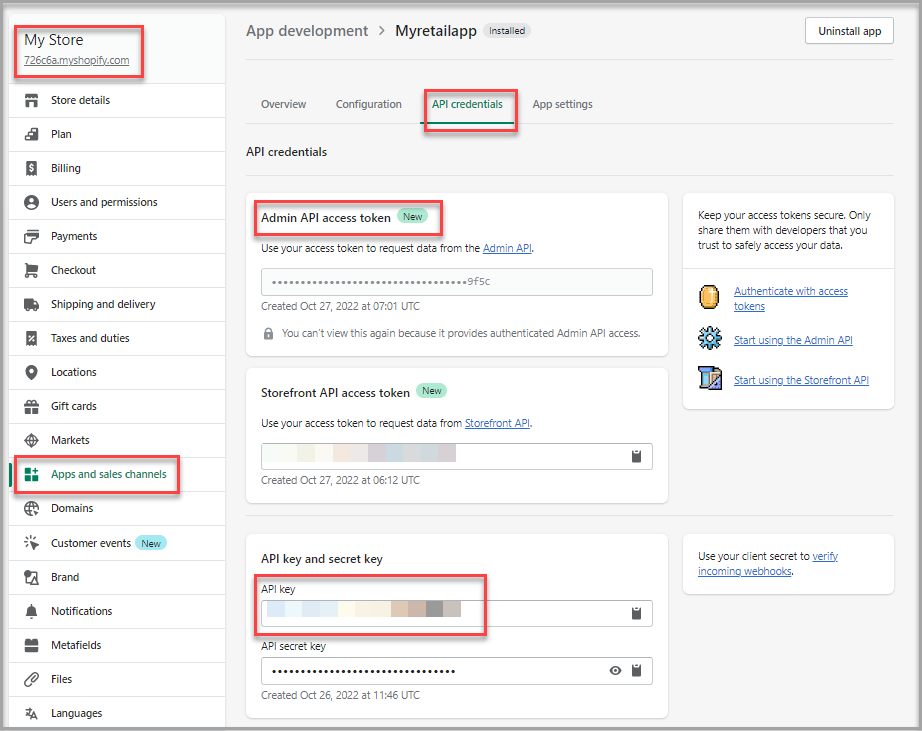
You can use the Admin API access token as the API password while configuring your Shopify import connector.
Next step
After completing the data import, start the Master Data Management (MDM) - Stitch process to develop a unified view of your customers.ERD