> ## Documentation Index
> Fetch the complete documentation index at: https://docs.skypoint.ai/llms.txt
> Use this file to discover all available pages before exploring further.
#
# Integrating Hightouch with Lakehouse SQL
## Overview
Hightouch serves as a Reverse ETL (Extract, Transform, Load) solution, facilitating the extraction of data from a warehouse or database, and subsequently loading it into Sales, Marketing, and analytics tools via SQL, with no need for scripts. By leveraging this technology, you can synchronize your data from skyData Lakehouse SQL with Hightouch, without having to rely on APIs, CSVs, or engineering assistance. skyData is built to accommodate various analytics, machine learning, artificial intelligence, and business intelligence applications.
skyData leverages Databricks SQL to create a connection between the Lakehouse in skyData and the Hightouch client. This connection allows for the seamless loading of data into your Sales, Marketing, or analytics tools.
## Prerequisites
* Lakehouse SQL must be provisioned in your tenant.
* Connection details, such as Server Hostname, Port, and HTTP Path, are required to establish a connection.
* You must also have a personal access token from Lakehouse SQL for your tenant.
Follow the below steps to integrate Hightouch with Lakehouse SQL:
## Connect Hightouch to Lakehouse SQL
1. [Login in](https://app.hightouch.com/login) with a Hightouch account.
 2. Click **Create a workspace** to create a new workspace. If you have already created a workspace, then select an existing one.
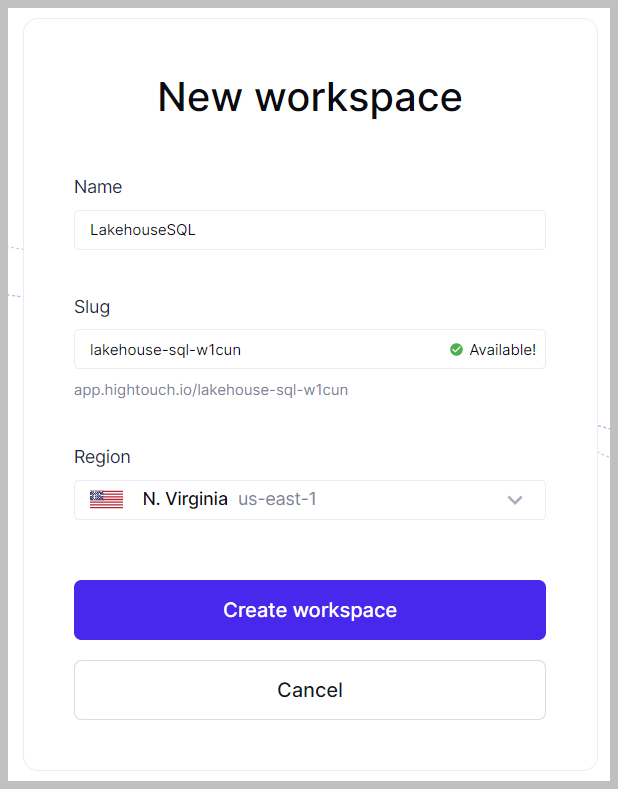 3. Enter a name for a new workspace and click **Create workspace**. You can choose **Region** from the drop-down list.
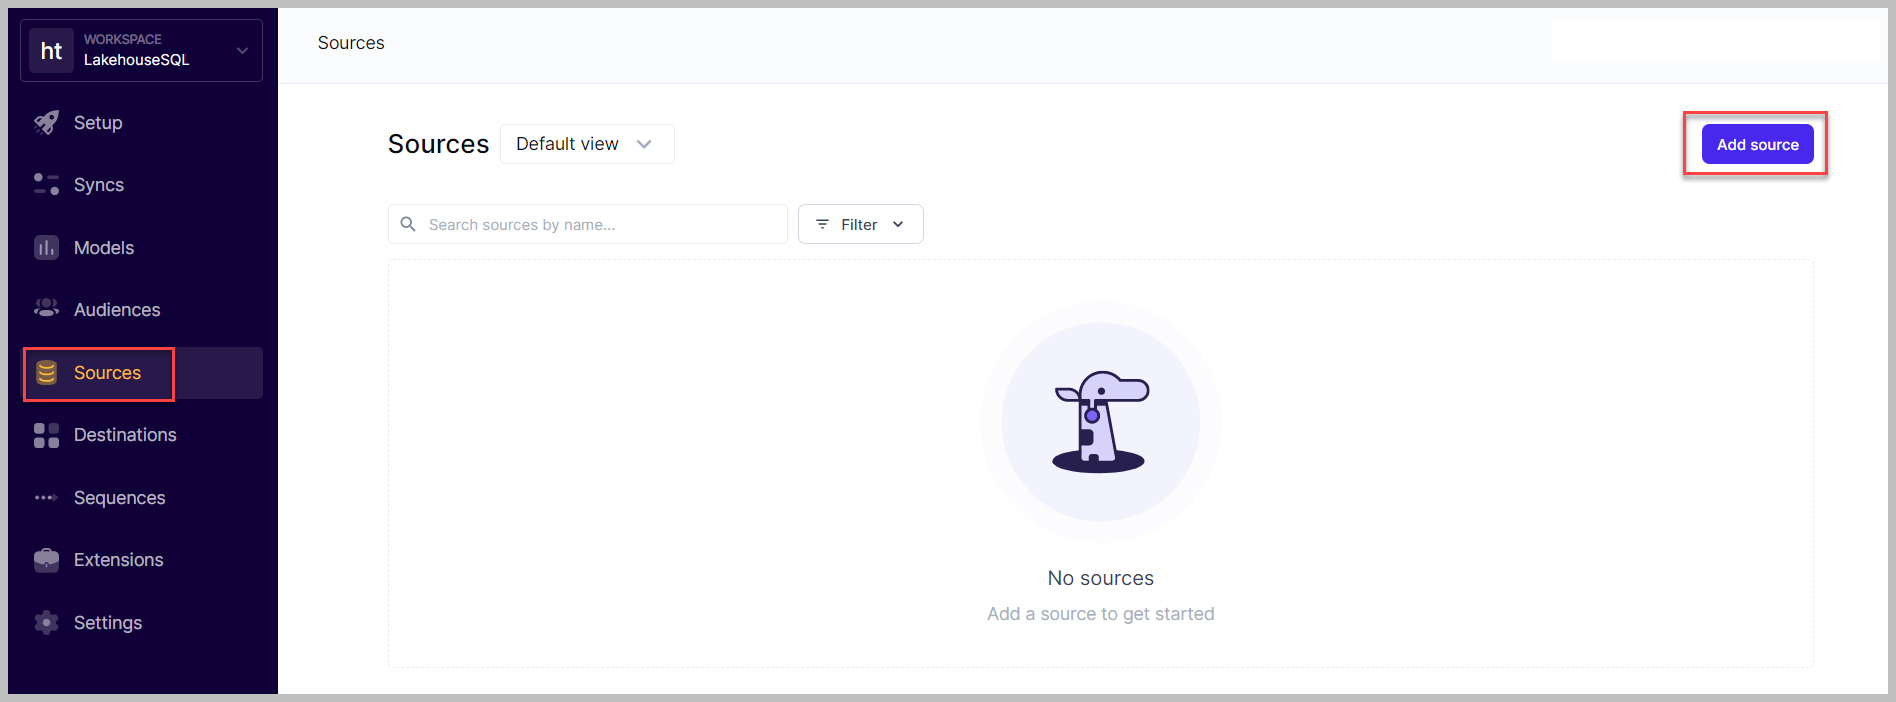 4. In the left pane, click **Sources**.
5. Click **Add source**.
4. In the left pane, click **Sources**.
5. Click **Add source**.
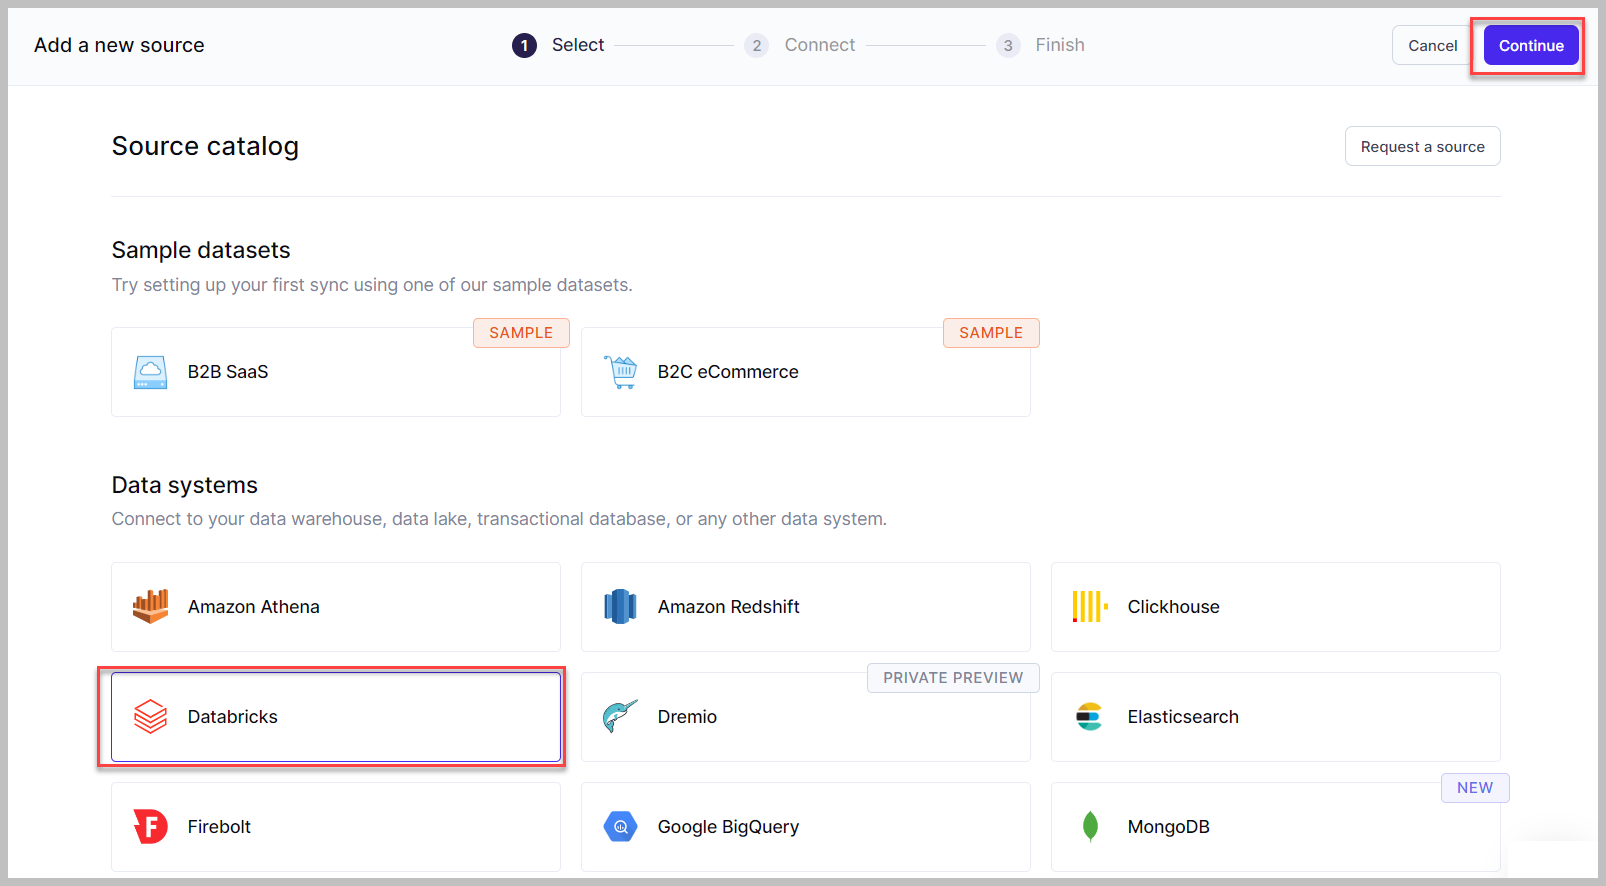 6. Click **Databricks**, and then click **Continue**.
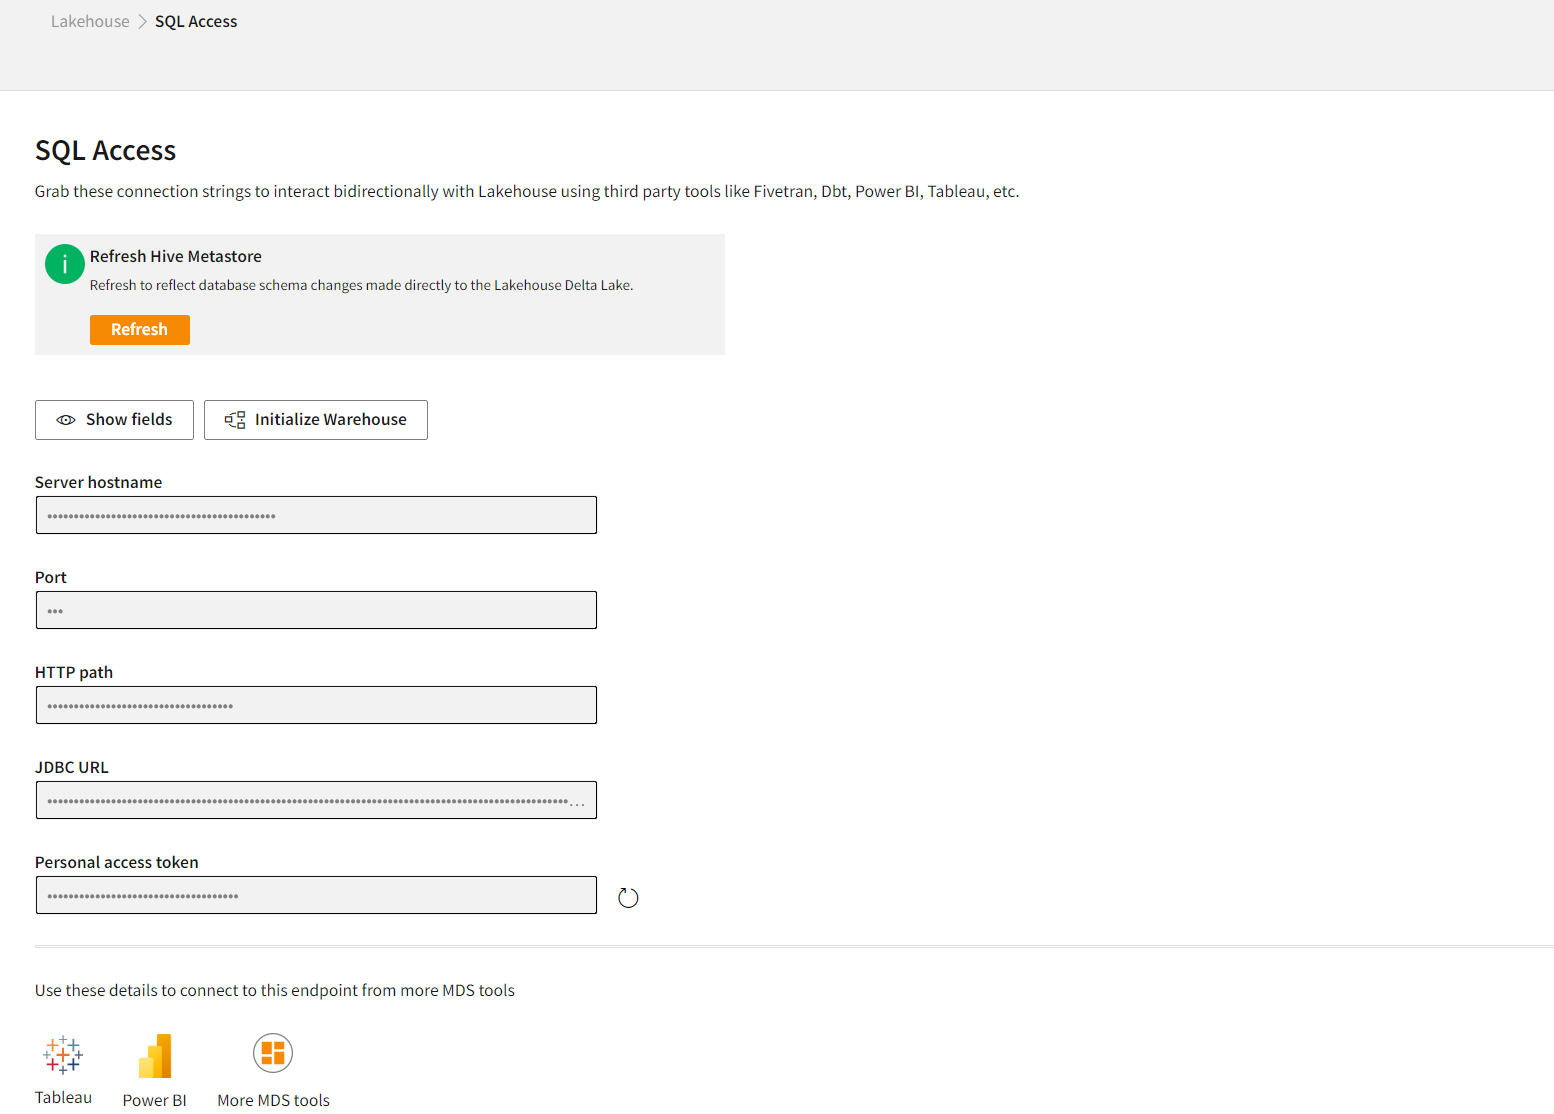
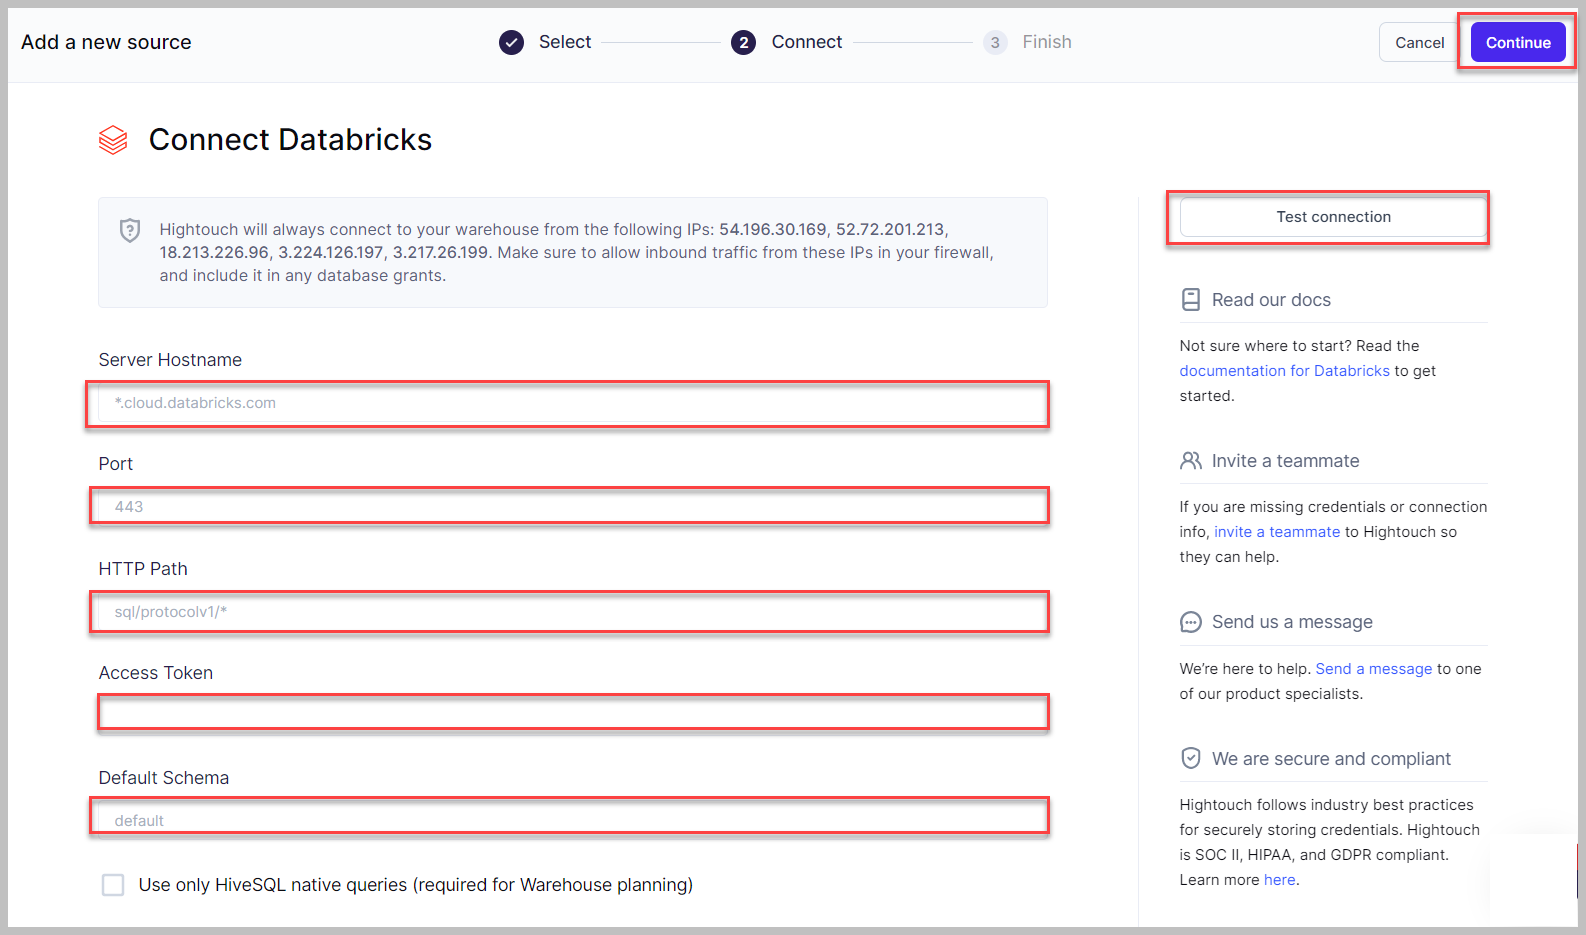 7. Enter **Server Hostname**, **Port**, **HTTP Path**, and **Access Token**. You can get these deatils from Lakehouse > SQL access in Skypoint studio.
 8. For Default Schema, enter the name of the target database.
9. Click **Test Connection**. Make sure that testing the source returns green before continuing to the next step.
10. Once the connection is successful, click **Continue**.
8. For Default Schema, enter the name of the target database.
9. Click **Test Connection**. Make sure that testing the source returns green before continuing to the next step.
10. Once the connection is successful, click **Continue**.
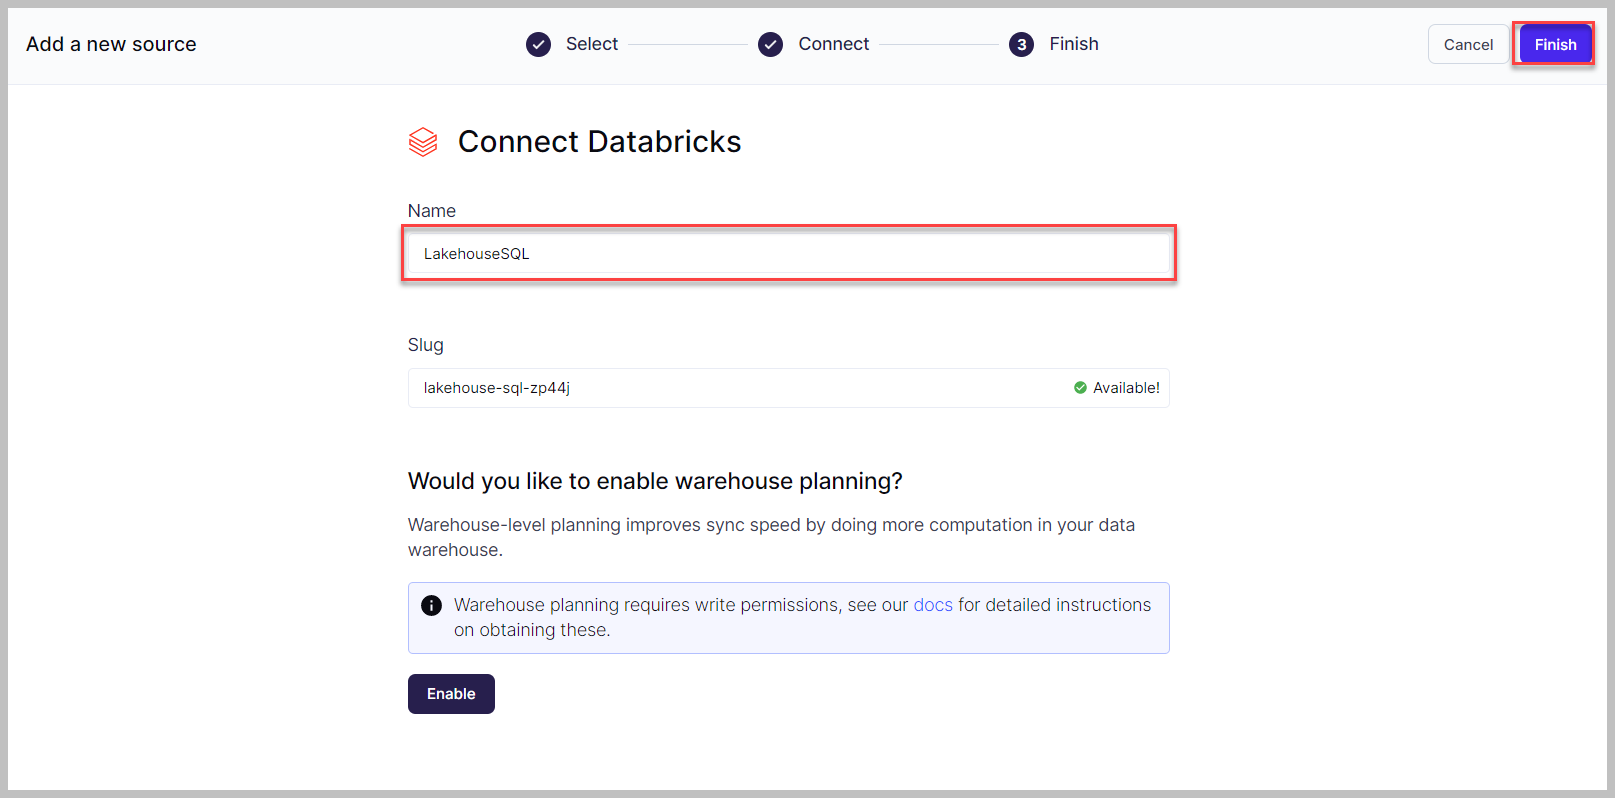 11. You can enter a name for the connection, and then click **Finish**.
## Connect to your destination
Follow the below steps to set your destination:
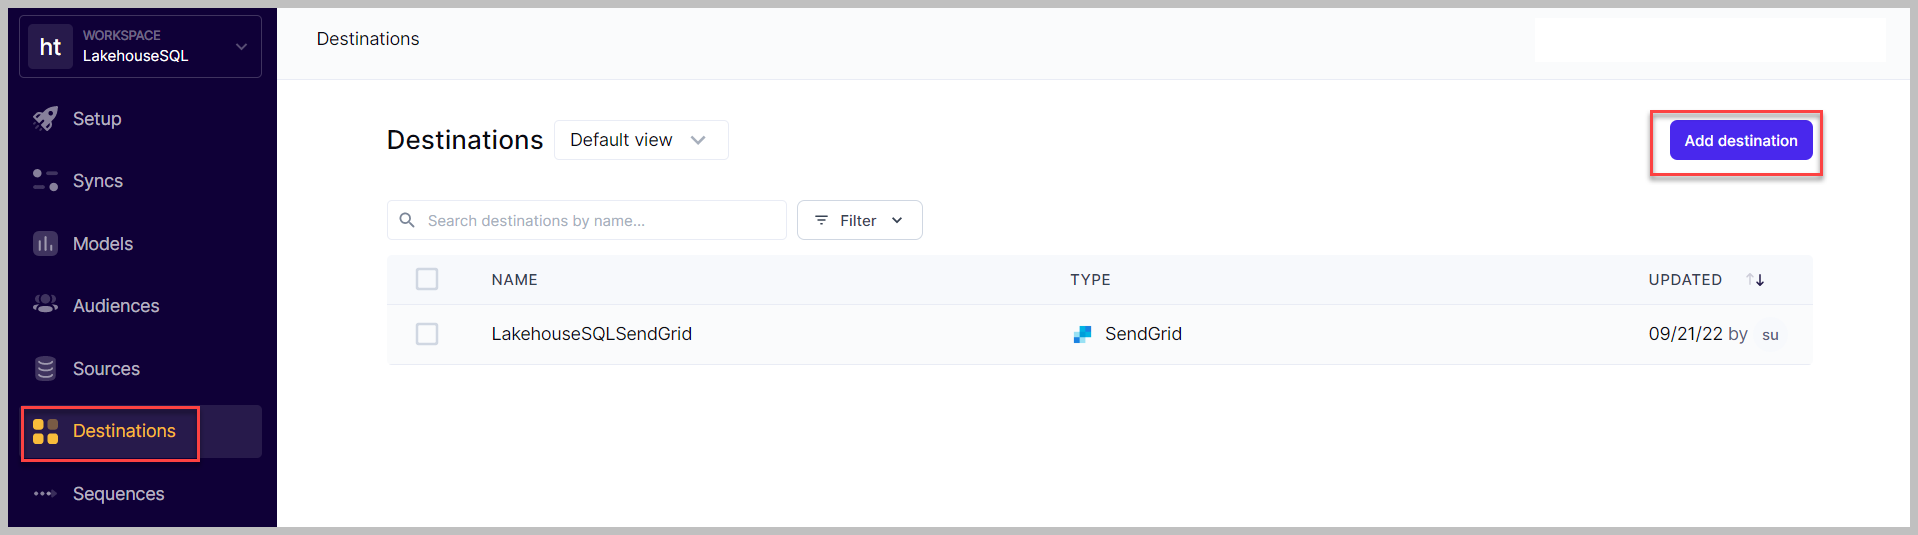
1. In the workspace navigation pane, click **Destinations**.
2. Click the **Add destination** button to add your destination. You can also type your destination in the filter box.
11. You can enter a name for the connection, and then click **Finish**.
## Connect to your destination
Follow the below steps to set your destination:
1. In the workspace navigation pane, click **Destinations**.
2. Click the **Add destination** button to add your destination. You can also type your destination in the filter box.
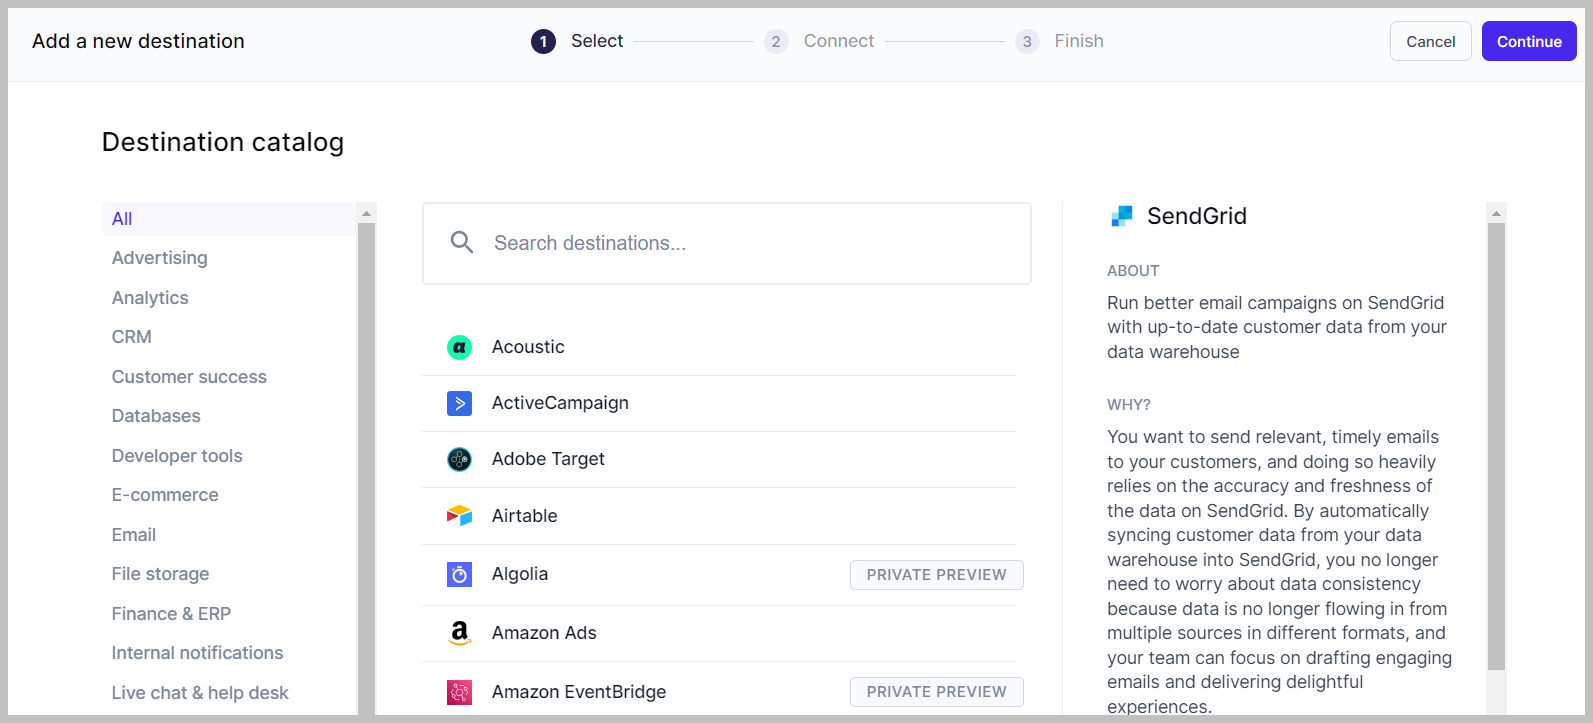
 3. Select your **Destination catalog** and click on **Continue**. For instance, in this section, we create a connection with the SendGrid connector for exporting data.
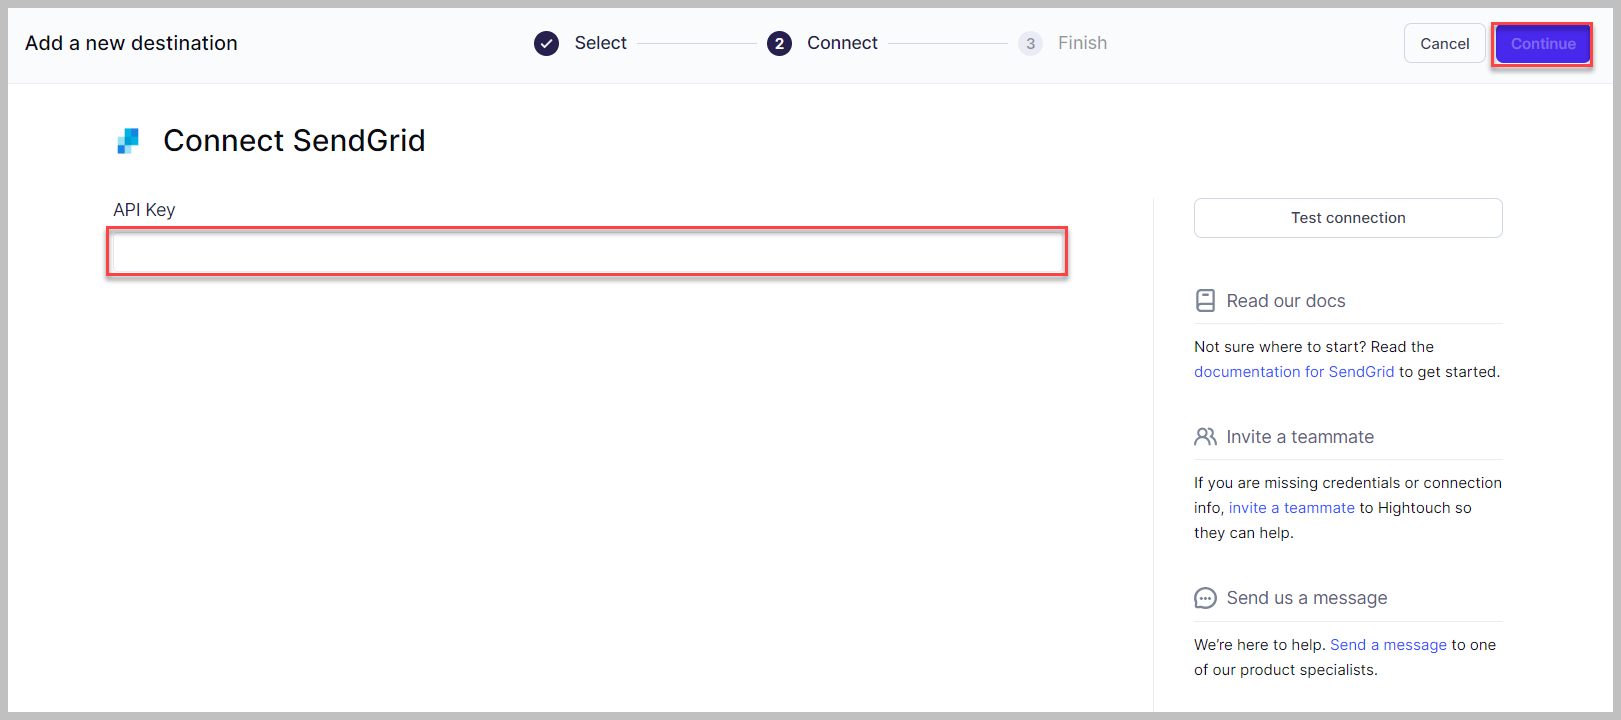
 4. Enter **API Key** and then click **Continue**.
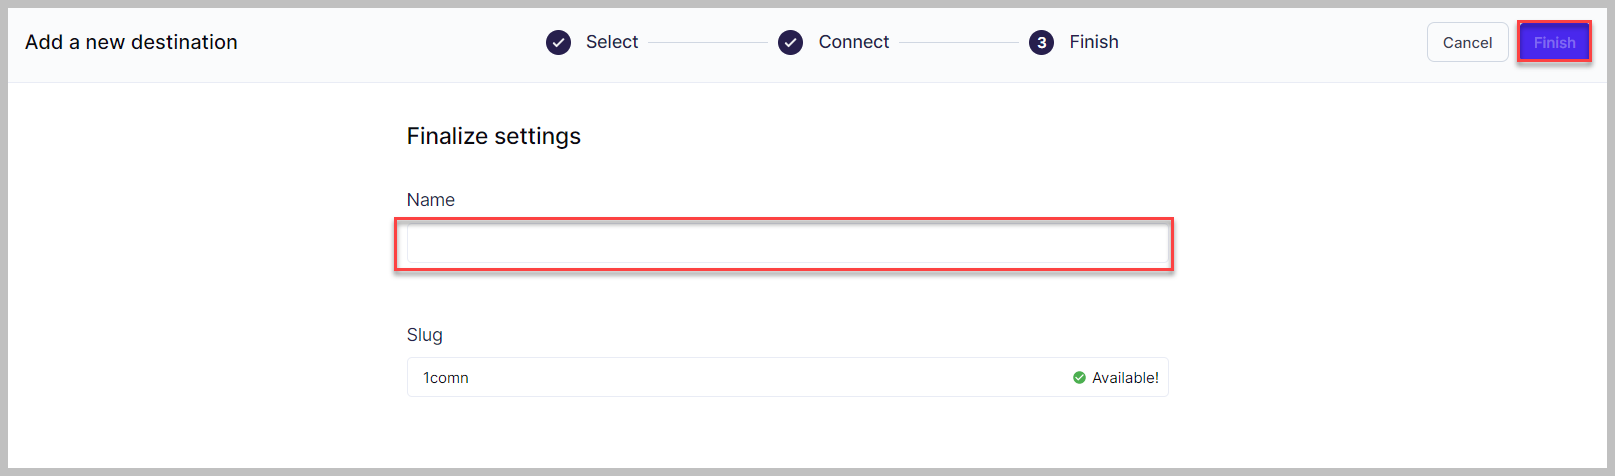
 5. Enter a name for the destination, and then click **Finish**.
 ## Add a model in Hightouch
Follow the below steps to add a model in Hightouch:
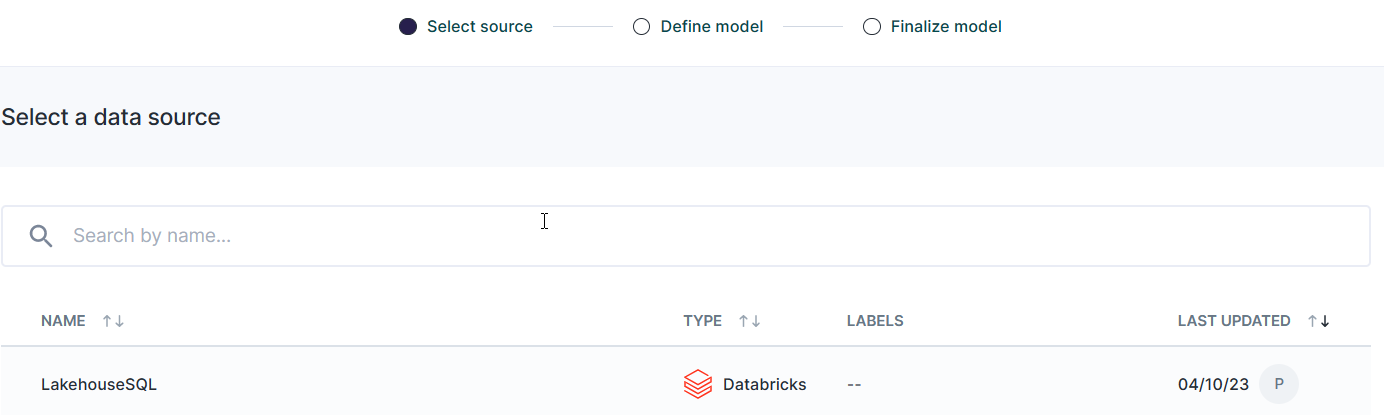
1. Select "Add model" and select the datasource for which the model has to be added.
## Add a model in Hightouch
Follow the below steps to add a model in Hightouch:
1. Select "Add model" and select the datasource for which the model has to be added.
 2. Define the model. Hightouch provides 3 options for defining the model: Query with SQL, Create from table or view and import model from Sigma.
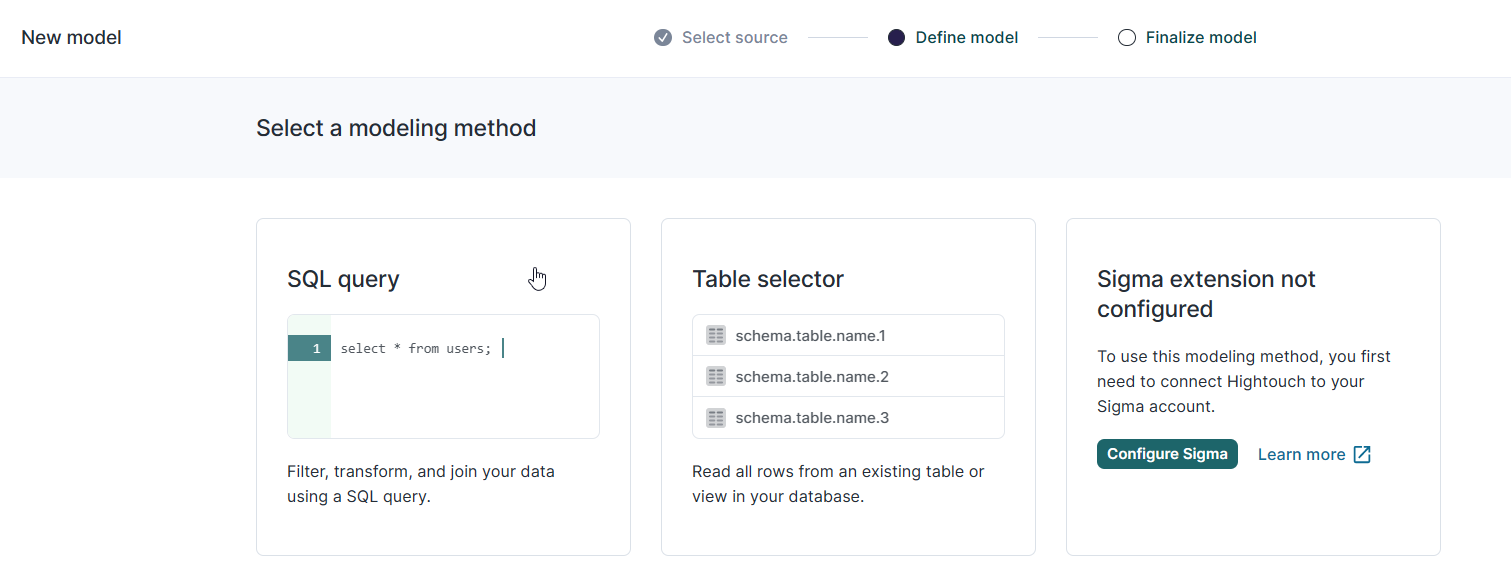 3. For instance,in this section we select Query with SQL to define a model.
4. After the model definition, provide basic details for the model like name, description and primary key.
3. For instance,in this section we select Query with SQL to define a model.
4. After the model definition, provide basic details for the model like name, description and primary key.
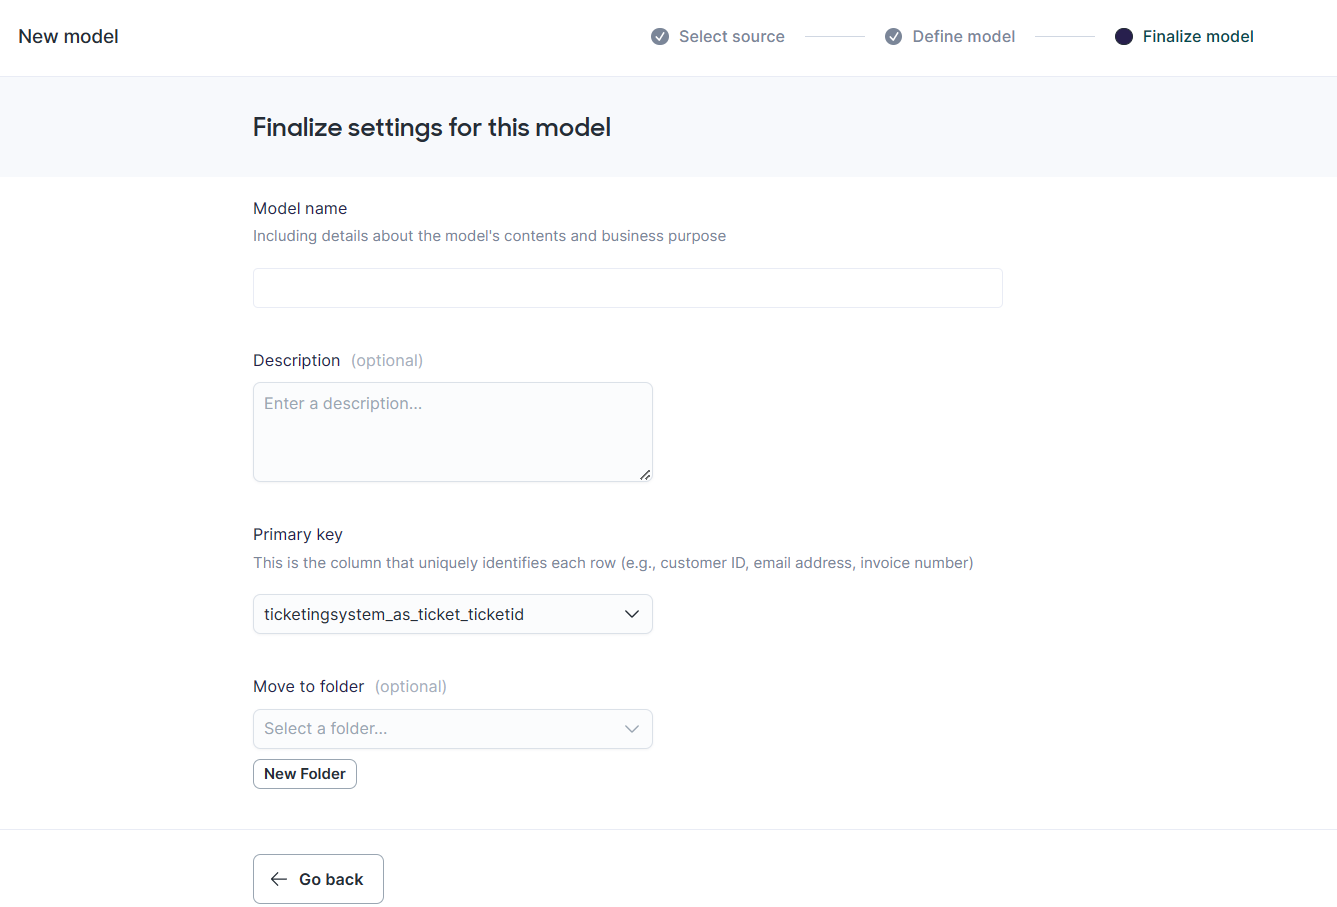 5. Click on "Finish".
## Add a sync in Hightouch
To add sync for models in Hightouch, follow these steps:
1. Click on "Add sync" and choose the model you want to sync.
5. Click on "Finish".
## Add a sync in Hightouch
To add sync for models in Hightouch, follow these steps:
1. Click on "Add sync" and choose the model you want to sync.
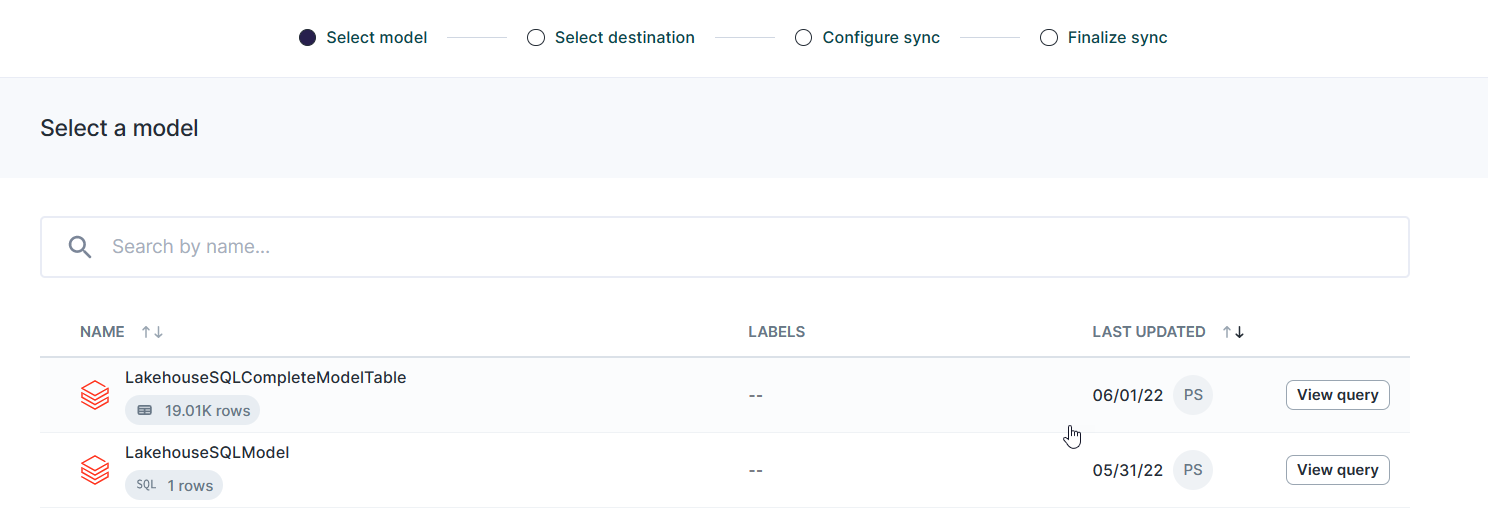 2. Select the destination where you want the data to be synced.
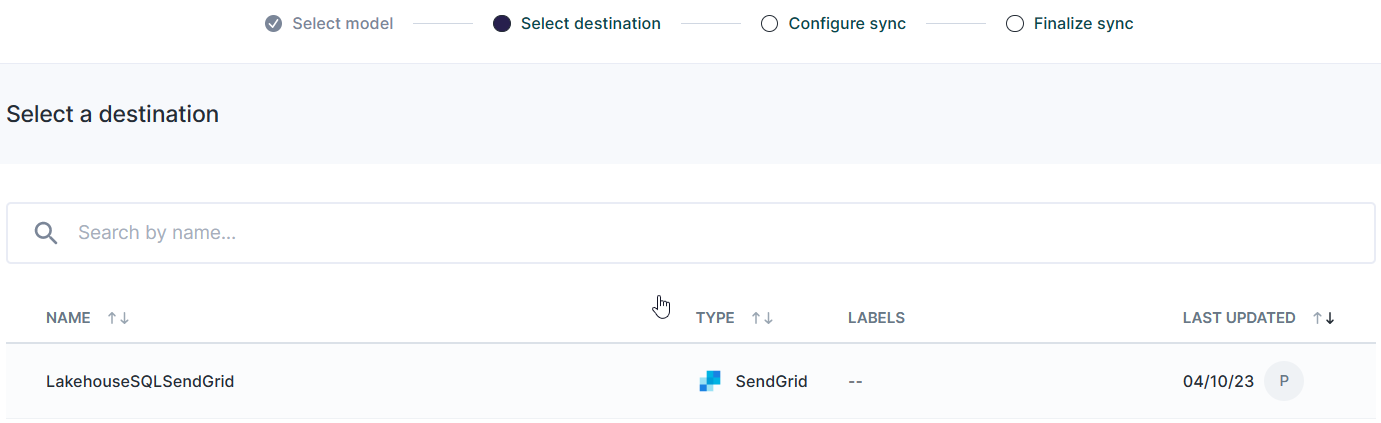 3. Configure the sync to the destination by selecting the primary keys and mapping the necessary fields between the source and destination tables.
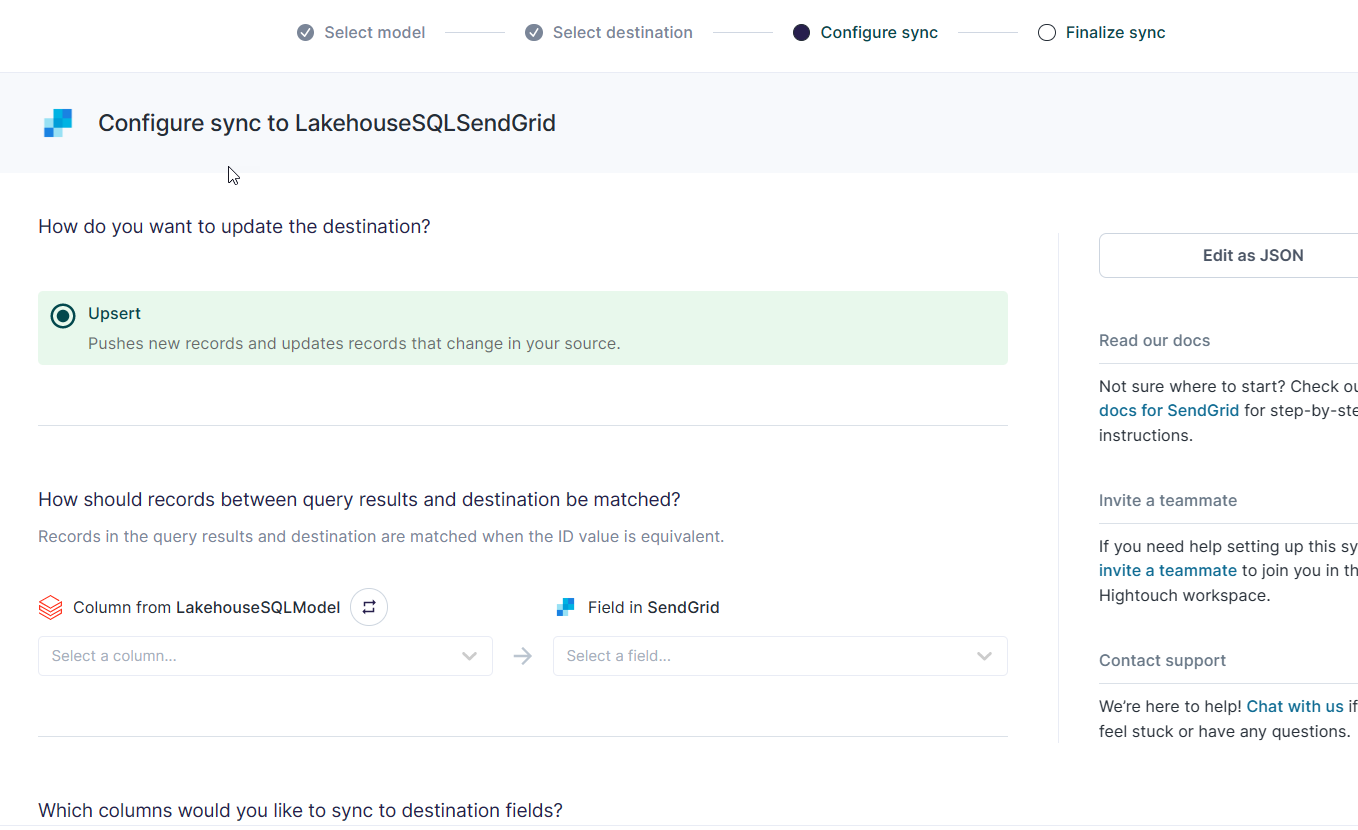 4. Set the schedule type for the sync and click "Finish".
5. Run the sync.
## Check the exported data in destination.
To check the exported data in the destination after syncing with Hightouch, follow these steps:
1. Access the destination where the data was synced.
2. Look for the data that was exported from the source table and confirm that it has been successfully transferred to the destination.
3. Verify that the data is accurate and complete.
4. If needed, perform any necessary data cleansing or transformation.
5. The exported data is now available for further usage, such as reporting, analysis, or integration with other systems.
4. Set the schedule type for the sync and click "Finish".
5. Run the sync.
## Check the exported data in destination.
To check the exported data in the destination after syncing with Hightouch, follow these steps:
1. Access the destination where the data was synced.
2. Look for the data that was exported from the source table and confirm that it has been successfully transferred to the destination.
3. Verify that the data is accurate and complete.
4. If needed, perform any necessary data cleansing or transformation.
5. The exported data is now available for further usage, such as reporting, analysis, or integration with other systems.