> ## Documentation Index
> Fetch the complete documentation index at: https://docs.skypoint.ai/llms.txt
> Use this file to discover all available pages before exploring further.
#
# Dynamics 365 Setup Guide
Follow our setup guide to connect **Dynamics 365** to **skyData**.
## Steps to Connect
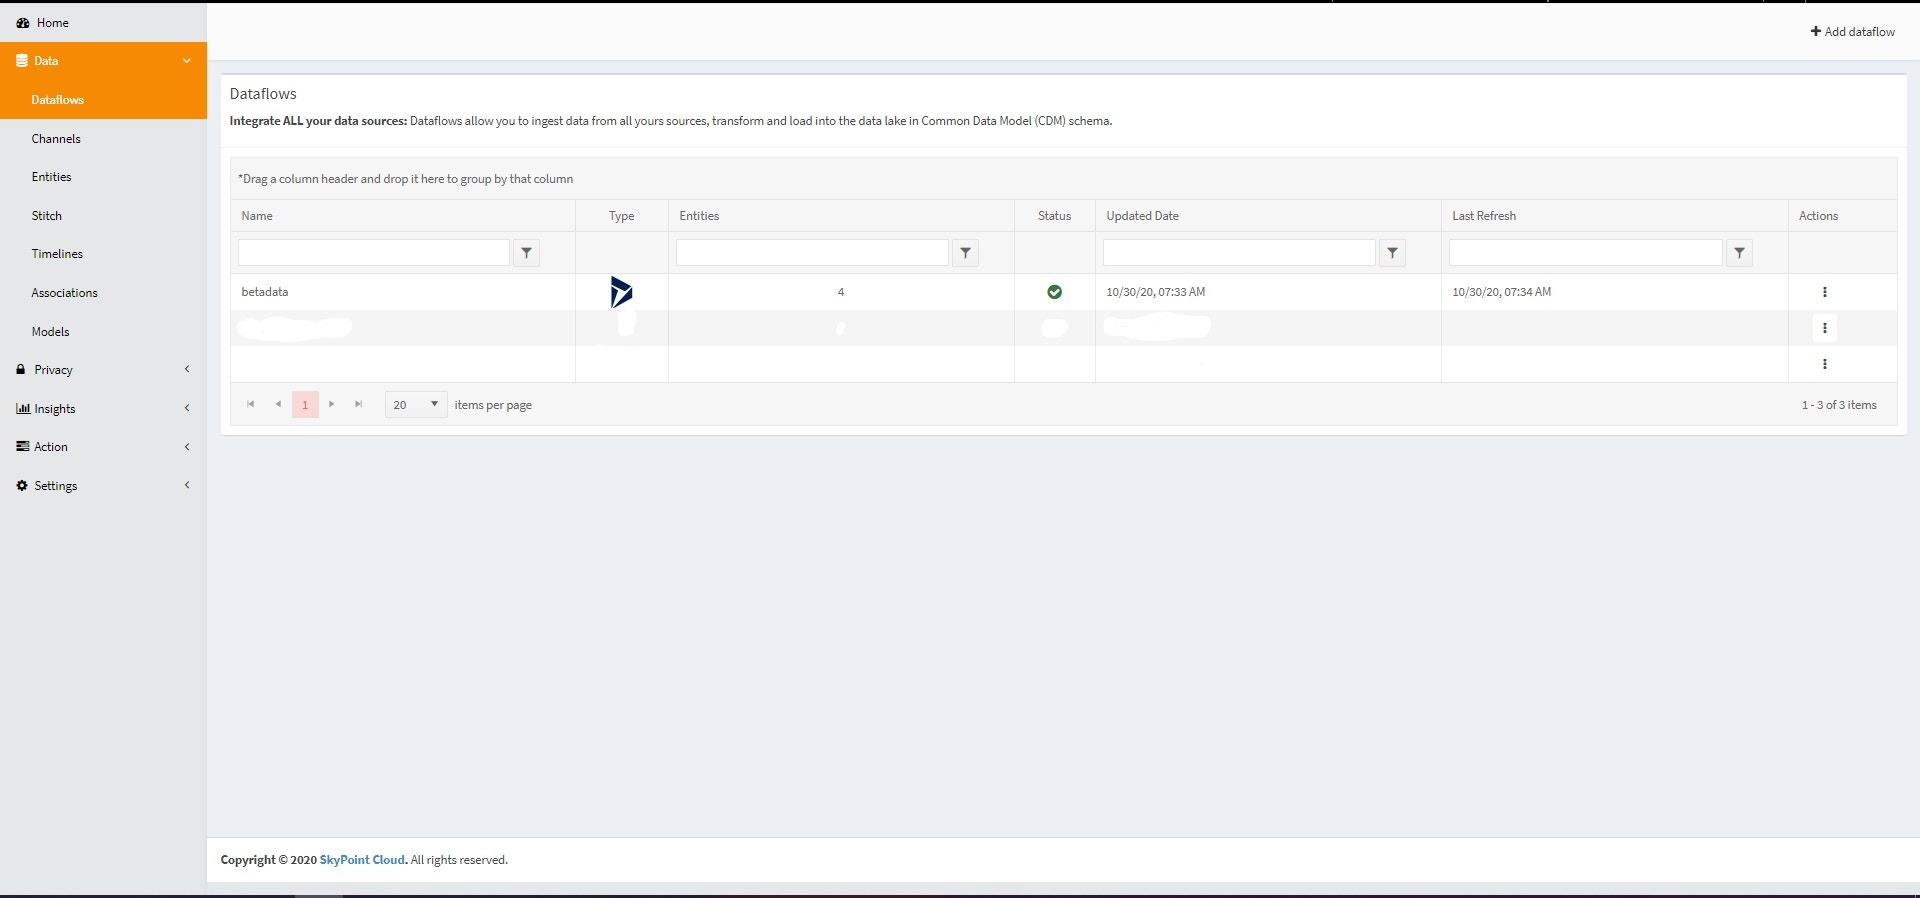
1. Navigate to **Data** > **Dataflow** and click on **Add Dataflow** present on the top right side of the screen.
2. Fill in the name of the dataflow and click on Next.
3. Click on **Services** and select Dynamics365.
 4. Enter the display name of the dataflow and give a brief description of the dataflow and then click on Connector.
 5. Fill in the **User Name**, **Password**, **ClientID**, **Client Secret** and **domain URL**. Click on Connect.
6. You will see a set of entities. Select all those you want and then click on SAVE.
7. You will be taken to the Dataflow page.
8. Click on the three dots under Action and select Run for the desired Dataflow.
9. It will take some time and your dataflow will be ingested.
5. Fill in the **User Name**, **Password**, **ClientID**, **Client Secret** and **domain URL**. Click on Connect.
6. You will see a set of entities. Select all those you want and then click on SAVE.
7. You will be taken to the Dataflow page.
8. Click on the three dots under Action and select Run for the desired Dataflow.
9. It will take some time and your dataflow will be ingested.